Most common plumbing issues—dripping faucets, running toilets, and slow drains—are DIY-fixable with basic tools. Know where your water shut-off valves are before starting any plumbing repair.
Plumbing problems are among the most common home repairs. While some issues require a professional plumber, many basic fixes are within reach of most homeowners. This guide covers the repairs you can tackle yourself and helps you know when to call for help.
Essential Plumbing Tools
Before starting any plumbing repair, gather these basic tools:
- Adjustable wrench - For nuts and fittings
- Pipe wrench - For gripping pipes (use two for leverage)
- Plunger - Cup style for sinks, flange style for toilets
- Plumber’s tape (Teflon tape) - For sealing threaded connections
- Bucket and towels - For catching water
- Flashlight - For seeing under sinks
- Channel-lock pliers - Versatile gripping tool
- Basin wrench - For hard-to-reach faucet nuts
- Drain snake/auger - For clearing clogs
- Plumber’s putty - For sealing drains and fixtures
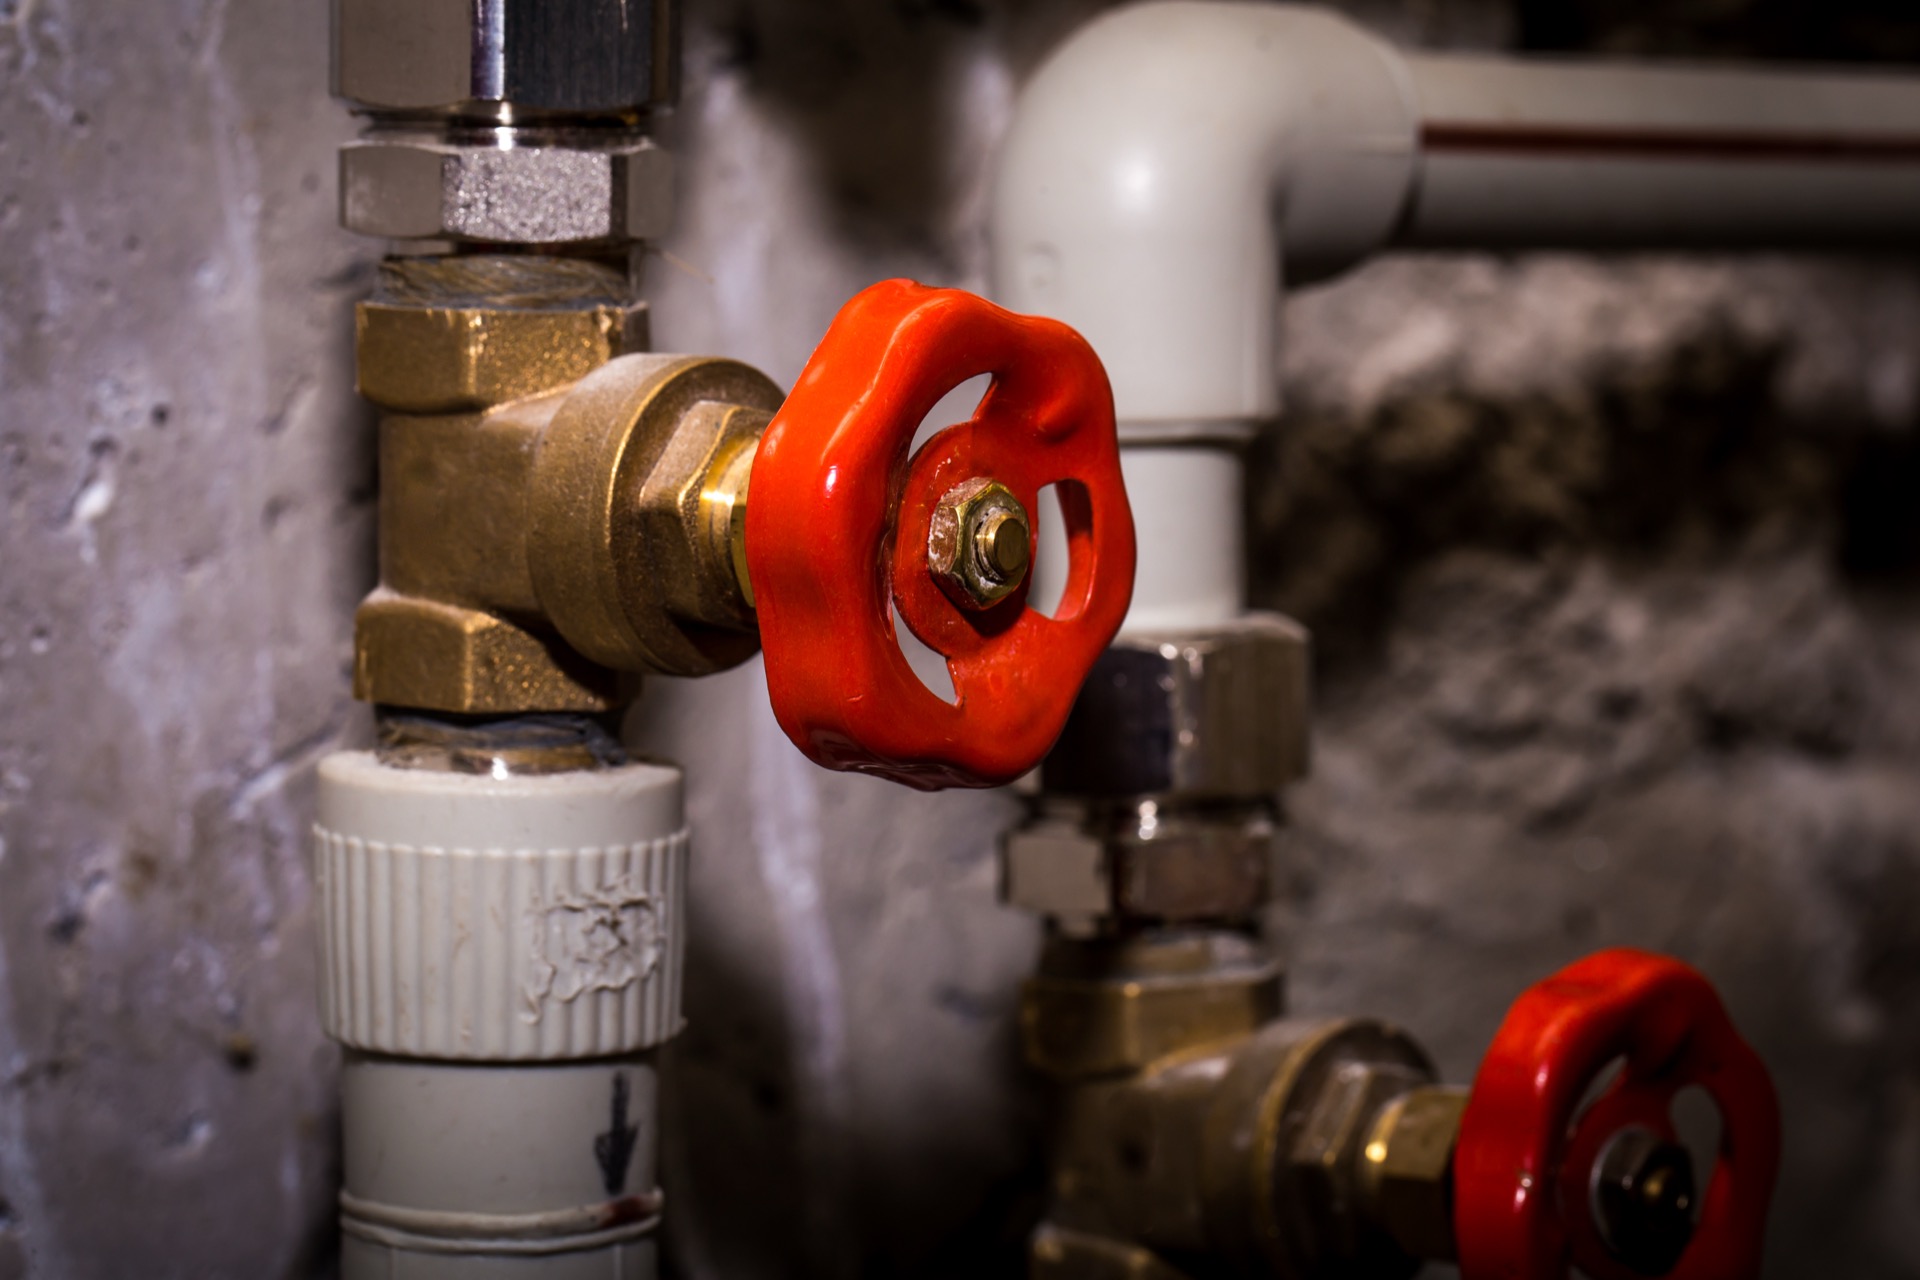
Know Your Shut-Off Valves
Before any repair, know how to stop the water:
Fixture Shut-Offs
Most sinks and toilets have individual shut-off valves:
- Location: Under the sink or behind the toilet
- Operation: Turn clockwise to close (righty-tighty)
- Types: Oval handle (gate valve) or lever (quarter-turn ball valve)
Main Water Shut-Off
For major repairs or emergencies:
- Location: Where water enters your home
- Operation: Gate valves need multiple turns; ball valves need quarter turn
- Test it: Try closing and opening it annually to prevent seizure
Tag your main shut-off valve and make sure everyone in your household knows where it is. In a burst pipe emergency, every second counts.
Fixing a Dripping Faucet
A dripping faucet wastes thousands of gallons per year. The repair depends on your faucet type.
Identifying Your Faucet Type
Compression faucets (two handles):
- Oldest design with separate hot and cold handles
- Uses rubber washers that wear out
Ball faucets (single handle):
- Handle rotates over a ball mechanism
- Common in kitchens
Cartridge faucets (single or double handle):
- Uses a cartridge that moves up/down and side to side
- Very common modern design
Ceramic disc faucets (single handle):
- Premium design with ceramic discs
- Usually requires less maintenance
Repairing a Compression Faucet
- Turn off water supply under the sink
- Remove the handle (usually a screw under a decorative cap)
- Unscrew the packing nut with a wrench
- Pull out the stem
- Remove the old rubber washer from the bottom of the stem
- Replace with an exact-match washer (bring old one to store)
- Reassemble in reverse order
- Turn water on and test
Repairing a Cartridge Faucet
- Turn off water supply
- Remove handle (screw may be hidden under cap)
- Remove the retaining clip or nut
- Pull out the cartridge (may need cartridge puller tool)
- Take cartridge to hardware store for exact replacement
- Install new cartridge (note orientation)
- Reassemble and test
When replacing a cartridge, note its orientation before removal. Installing it backwards will reverse your hot and cold water.
Repairing a Ball Faucet
Ball faucets have multiple parts that can wear. Consider buying a complete rebuild kit:
- Turn off water supply
- Remove handle and cap
- Use the special tool (included in kit) to remove the cam
- Remove the ball, seats, and springs
- Install new seats and springs from kit
- Install new ball and cam
- Reassemble handle
- Test and adjust cap tension if needed
Fixing a Running Toilet
A running toilet can waste 200+ gallons per day. The fix is usually simple.
Diagnose the Problem
The flapper: Most common issue
- Add food coloring to tank; if color appears in bowl without flushing, the flapper leaks
The fill valve: Water keeps running into overflow tube
- Water level should be about 1 inch below overflow tube top
The float: Can’t properly regulate water level
- Older toilets use ball floats; newer ones use cup floats on the fill valve
Replacing the Flapper
- Turn off water supply
- Flush to empty tank
- Unhook the old flapper from the flush valve
- Disconnect the chain from the handle lever
- Take old flapper to store for matching
- Install new flapper, connecting ears or ring to flush valve
- Attach chain to handle lever (leave slight slack)
- Turn water on and test
Adjusting the Fill Valve
For too-high water level:
- Locate adjustment screw or clip on fill valve
- Turn screw clockwise or slide clip down to lower water level
- Water should be about 1 inch below overflow tube
For a faulty fill valve:
- Turn off water, flush tank
- Disconnect supply line
- Remove locknut under tank
- Pull out old fill valve
- Install new fill valve at correct height
- Tighten locknut, reconnect supply
- Turn on water and adjust level
Replacing the Flush Valve (More Advanced)
If the flush valve itself is cracked or worn:
- Turn off water and empty tank completely
- Disconnect supply line
- Remove tank bolts (hold inside with screwdriver, turn nut underneath)
- Lift tank off bowl
- Remove old flush valve from bottom of tank
- Install new flush valve with gasket
- Reinstall tank, hand-tighten bolts evenly
- Reconnect supply, turn on water, check for leaks
Clearing Clogged Drains
Before reaching for chemical drain cleaners (which can damage pipes), try these methods.
Plunging Technique
For sinks:
- Block the overflow hole with a wet rag
- Fill sink with a few inches of water
- Place cup plunger over drain, ensuring seal
- Plunge vigorously 15-20 times
- Check if water drains
- Repeat if needed
For toilets:
- Use a flange plunger (has extended rubber flap)
- Insert plunger into drain hole at angle to release air
- Push down slowly, then pull up sharply
- Repeat 15-20 times
- Flush to test
Running hot water before plunging can help soften grease clogs. For stubborn clogs, let dish soap sit in the drain for 10 minutes before plunging.
Using a Drain Snake
When plunging doesn’t work:
- Remove the drain stopper or strainer
- Feed the snake into the drain
- Turn the handle clockwise while pushing forward
- When you hit the clog, continue turning to break it up or hook it
- Pull snake out slowly, cleaning debris as you go
- Run hot water to flush remaining debris
- Repeat if necessary
P-Trap Cleaning
For sink clogs near the drain:
- Place bucket under P-trap
- Loosen slip nuts on both ends of P-trap
- Remove P-trap and dump contents in bucket
- Clean trap with brush and water
- Reinstall, hand-tighten slip nuts
- Run water to test for leaks
Preventing Clogs
- Use drain strainers in all sinks and tubs
- Never pour grease down drains
- Run hot water after using sink
- Monthly: pour boiling water down drains
- Don’t flush anything but toilet paper
- Use enzyme drain cleaners monthly for maintenance
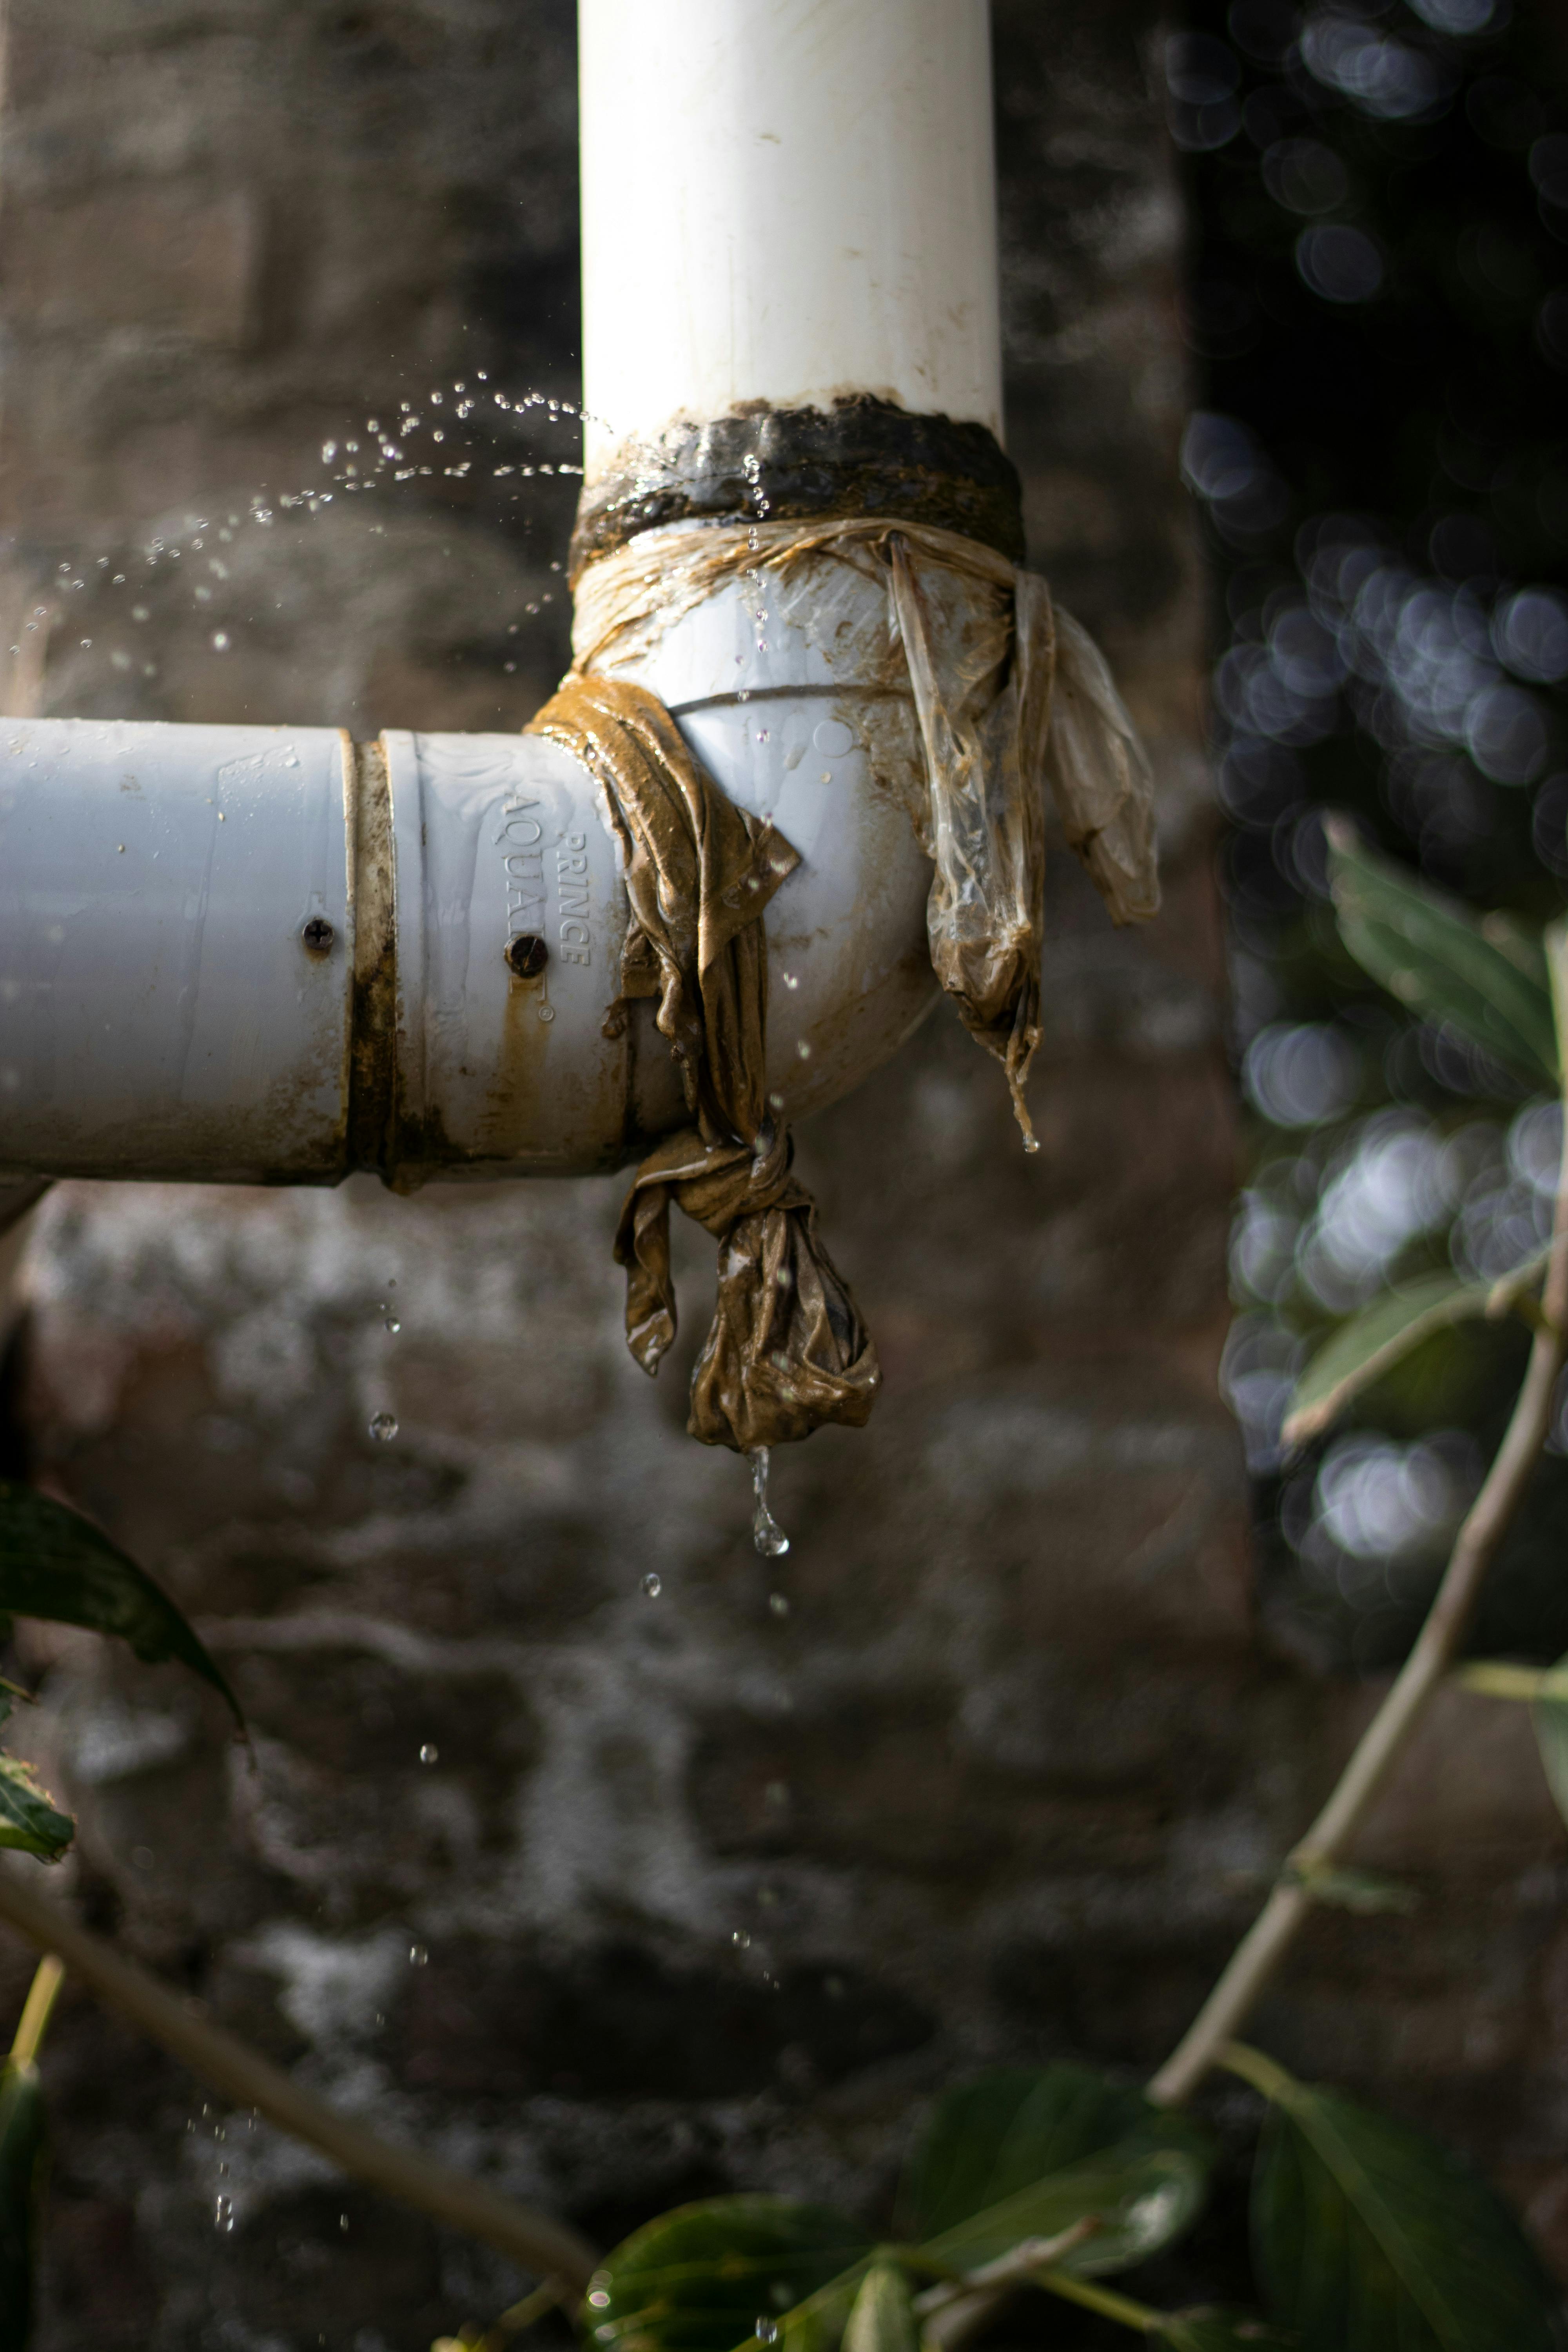
Fixing Leaky Pipes
Pipe leaks range from easy fixes to professional jobs.
Temporary Leak Repairs
For pinhole leaks (emergency):
- Turn off water
- Dry the pipe
- Apply plumber’s epoxy putty
- Wrap with pipe repair tape or rubber patch and hose clamp
- This is temporary—plan permanent repair
Pipe repair clamp (semi-permanent):
- Turn off water
- Place rubber gasket over leak
- Position clamp over gasket
- Tighten bolts evenly
- Turn water on slowly and check
Compression Fitting Leaks
- Turn off water
- Tighten the compression nut slightly (1/8 turn)
- If still leaking, turn off water again
- Remove nut and add plumber’s tape to threads
- Reassemble and test
Replacing a Section of Pipe
For copper pipe with a significant leak:
- Turn off water, drain pipes
- Cut out damaged section with pipe cutter
- Clean ends with emery cloth
- Install push-fit (SharkBite) fittings or:
- Apply flux to ends and inside of couplings
- Assemble with couplings
- Heat joint with torch, apply solder
- Let cool, turn water on, check for leaks
Push-fit fittings (SharkBite, etc.) are excellent for DIY repairs. They don’t require soldering—just cut the pipe cleanly, deburr, and push the fitting on. They’re approved for permanent use.
Fixing a Leaky Sink Drain
Basket Strainer Leaks
- Loosen locknut under sink
- Push strainer up from above
- Clean old putty from sink and strainer
- Roll plumber’s putty into rope
- Press putty around underside of strainer flange
- Insert strainer, press firmly
- Reinstall rubber gasket and locknut
- Tighten locknut, wipe excess putty from above
Slip Joint Leaks
- Tighten slip nut gently
- If still leaking, disassemble joint
- Check washer for damage, replace if needed
- Reassemble, hand-tighten plus quarter turn with pliers
Replacing a Sink Faucet
A common upgrade that’s very doable:
Removal
- Turn off water supplies
- Disconnect supply lines
- Remove mounting nuts from under sink (basin wrench helps)
- Lift out old faucet
- Clean sink surface of old putty/caulk
Installation
- Install gasket or apply plumber’s putty per instructions
- Set faucet in holes
- Install mounting hardware from below
- Hand-tighten, then snug with wrench
- Connect supply lines
- Turn on water slowly
- Check for leaks
- Remove aerator, run water to flush debris
- Reinstall aerator
Replacing a Toilet
Easier than most people think:
Removal
- Turn off water, flush, sponge remaining water from tank and bowl
- Disconnect supply line
- Remove tank bolts, lift off tank
- Pop off bolt caps at base, remove nuts
- Rock toilet to break wax seal, lift straight up
- Stuff rag in drain hole to block sewer gas
- Scrape old wax ring from flange
Installation
- Install new wax ring on toilet horn (or on flange)
- Remove rag from drain
- Lower toilet straight down onto bolts
- Press down firmly and rock slightly to set wax ring
- Install washers and nuts, tighten evenly
- Don’t overtighten—can crack toilet
- Install tank with new tank-to-bowl gasket
- Connect supply line
- Turn on water, check for leaks
- Caulk around base (optional but recommended)
Water Heater Maintenance
While major water heater repairs need professionals, basic maintenance is DIY:
Flushing Sediment
Do this annually:
- Turn off gas/electricity to water heater
- Connect hose to drain valve at bottom
- Run hose to drain or outside
- Open drain valve
- Open a hot water faucet upstairs to allow air in
- Drain until water runs clear (may take several gallons)
- Close drain, remove hose
- Turn water supply back on
- When tank is full (water from upstairs faucet runs steady), restore power
Testing the T&P Valve
The temperature and pressure relief valve is a safety device:
- Place bucket under discharge pipe
- Lift lever on T&P valve
- Water should flow freely and stop when released
- If it doesn’t flow or keeps dripping, replace the valve
If your T&P valve is dripping constantly, don’t cap it—this is dangerous. The valve may be faulty, or your water pressure or temperature may be too high. Call a plumber.
When to Call a Plumber
Some jobs require professional expertise:
- Main sewer line clogs - Requires professional equipment
- Water heater replacement - Codes, permits, safety concerns
- Gas line work - Dangerous, requires licensing
- Frozen pipes - Risk of bursting during thawing
- Slab leaks - Under-foundation repairs
- Water pressure problems - May indicate larger issues
- Permit-required work - Remodels, new fixtures
- Sewer smell throughout house - May be vent stack issue
- Anything you’re not comfortable doing
Preventing Plumbing Problems
- Avoid chemical drain cleaners - They damage pipes
- Don’t over-tighten connections - Causes cracks and leaks
- Know your water pressure - Should be 40-60 PSI
- Insulate pipes in cold areas - Prevents freezing
- Replace washing machine hoses - Every 5 years or use braided steel
- Don’t ignore small leaks - They become big problems
- Schedule water heater maintenance - Annual flushing extends life
Regular inspection and prompt attention to small problems prevents major plumbing emergencies.
Related Plumbing Answers
Dive deeper into specific plumbing issues with these targeted troubleshooting guides:
Water Pressure Issues
- Low Water Pressure in One Faucet - Aerator clogs, supply valve issues, and localized fixes
- Low Water Pressure Throughout the House - PRV valves, main shutoffs, and whole-house diagnosis
Toilet Problems
- Toilet Keeps Running - Flapper vs fill valve diagnosis and repair
- Toilet Won’t Flush Well - Clogs, venting issues, and tank problems
Drain Issues
- Slow Drain in Sink or Tub - Safe DIY clearing methods without harsh chemicals
- P-Trap Leaking Under Sink - Diagnosis, washer replacement, and P-trap installation
Water Heater
- Water Heater Not Hot Enough - Temperature settings, sediment, and dip tubes
- Water Heater Making Noises - What popping, rumbling, and hissing mean
Prevention & Safety
- Preventing Frozen Pipes - Temperature-based prevention steps
- Shutoff Valves Guide - Finding, testing, and replacing water shutoffs
Related Guides
Explore other home maintenance topics:
- HVAC Maintenance Guide - Keep your heating and cooling systems running efficiently
- Electrical Basics for Homeowners - Safe DIY electrical repairs and upgrades
- Appliance Maintenance Guide - Extend the life of your major appliances