Common causes include a dirty filter, thermostat placement issues, improper system sizing, or mechanical problems. Start by checking your filter and thermostat location before assuming your system needs repair.
When your HVAC system runs constantly but never reaches the set temperature, it’s frustrating and expensive. This guide helps you identify whether the problem is a simple fix or requires professional attention.
Check the Basics First
Air Filter Status
A dirty filter is often the culprit:
- Check your filter—if it’s gray or clogged, replace it
- A restricted filter makes your system work harder with less effect
- Change filters every 1-3 months to prevent this issue
Thermostat Placement
Your thermostat’s location affects its accuracy:
Problem locations:
- Direct sunlight (reads warmer than actual)
- Near exterior doors or windows (drafts affect readings)
- Above or near vents (directly affected by conditioned air)
- Near heat sources like lamps or appliances
- In rarely used rooms
If your thermostat is poorly placed, consider relocating it or using the temperature offset feature if available.
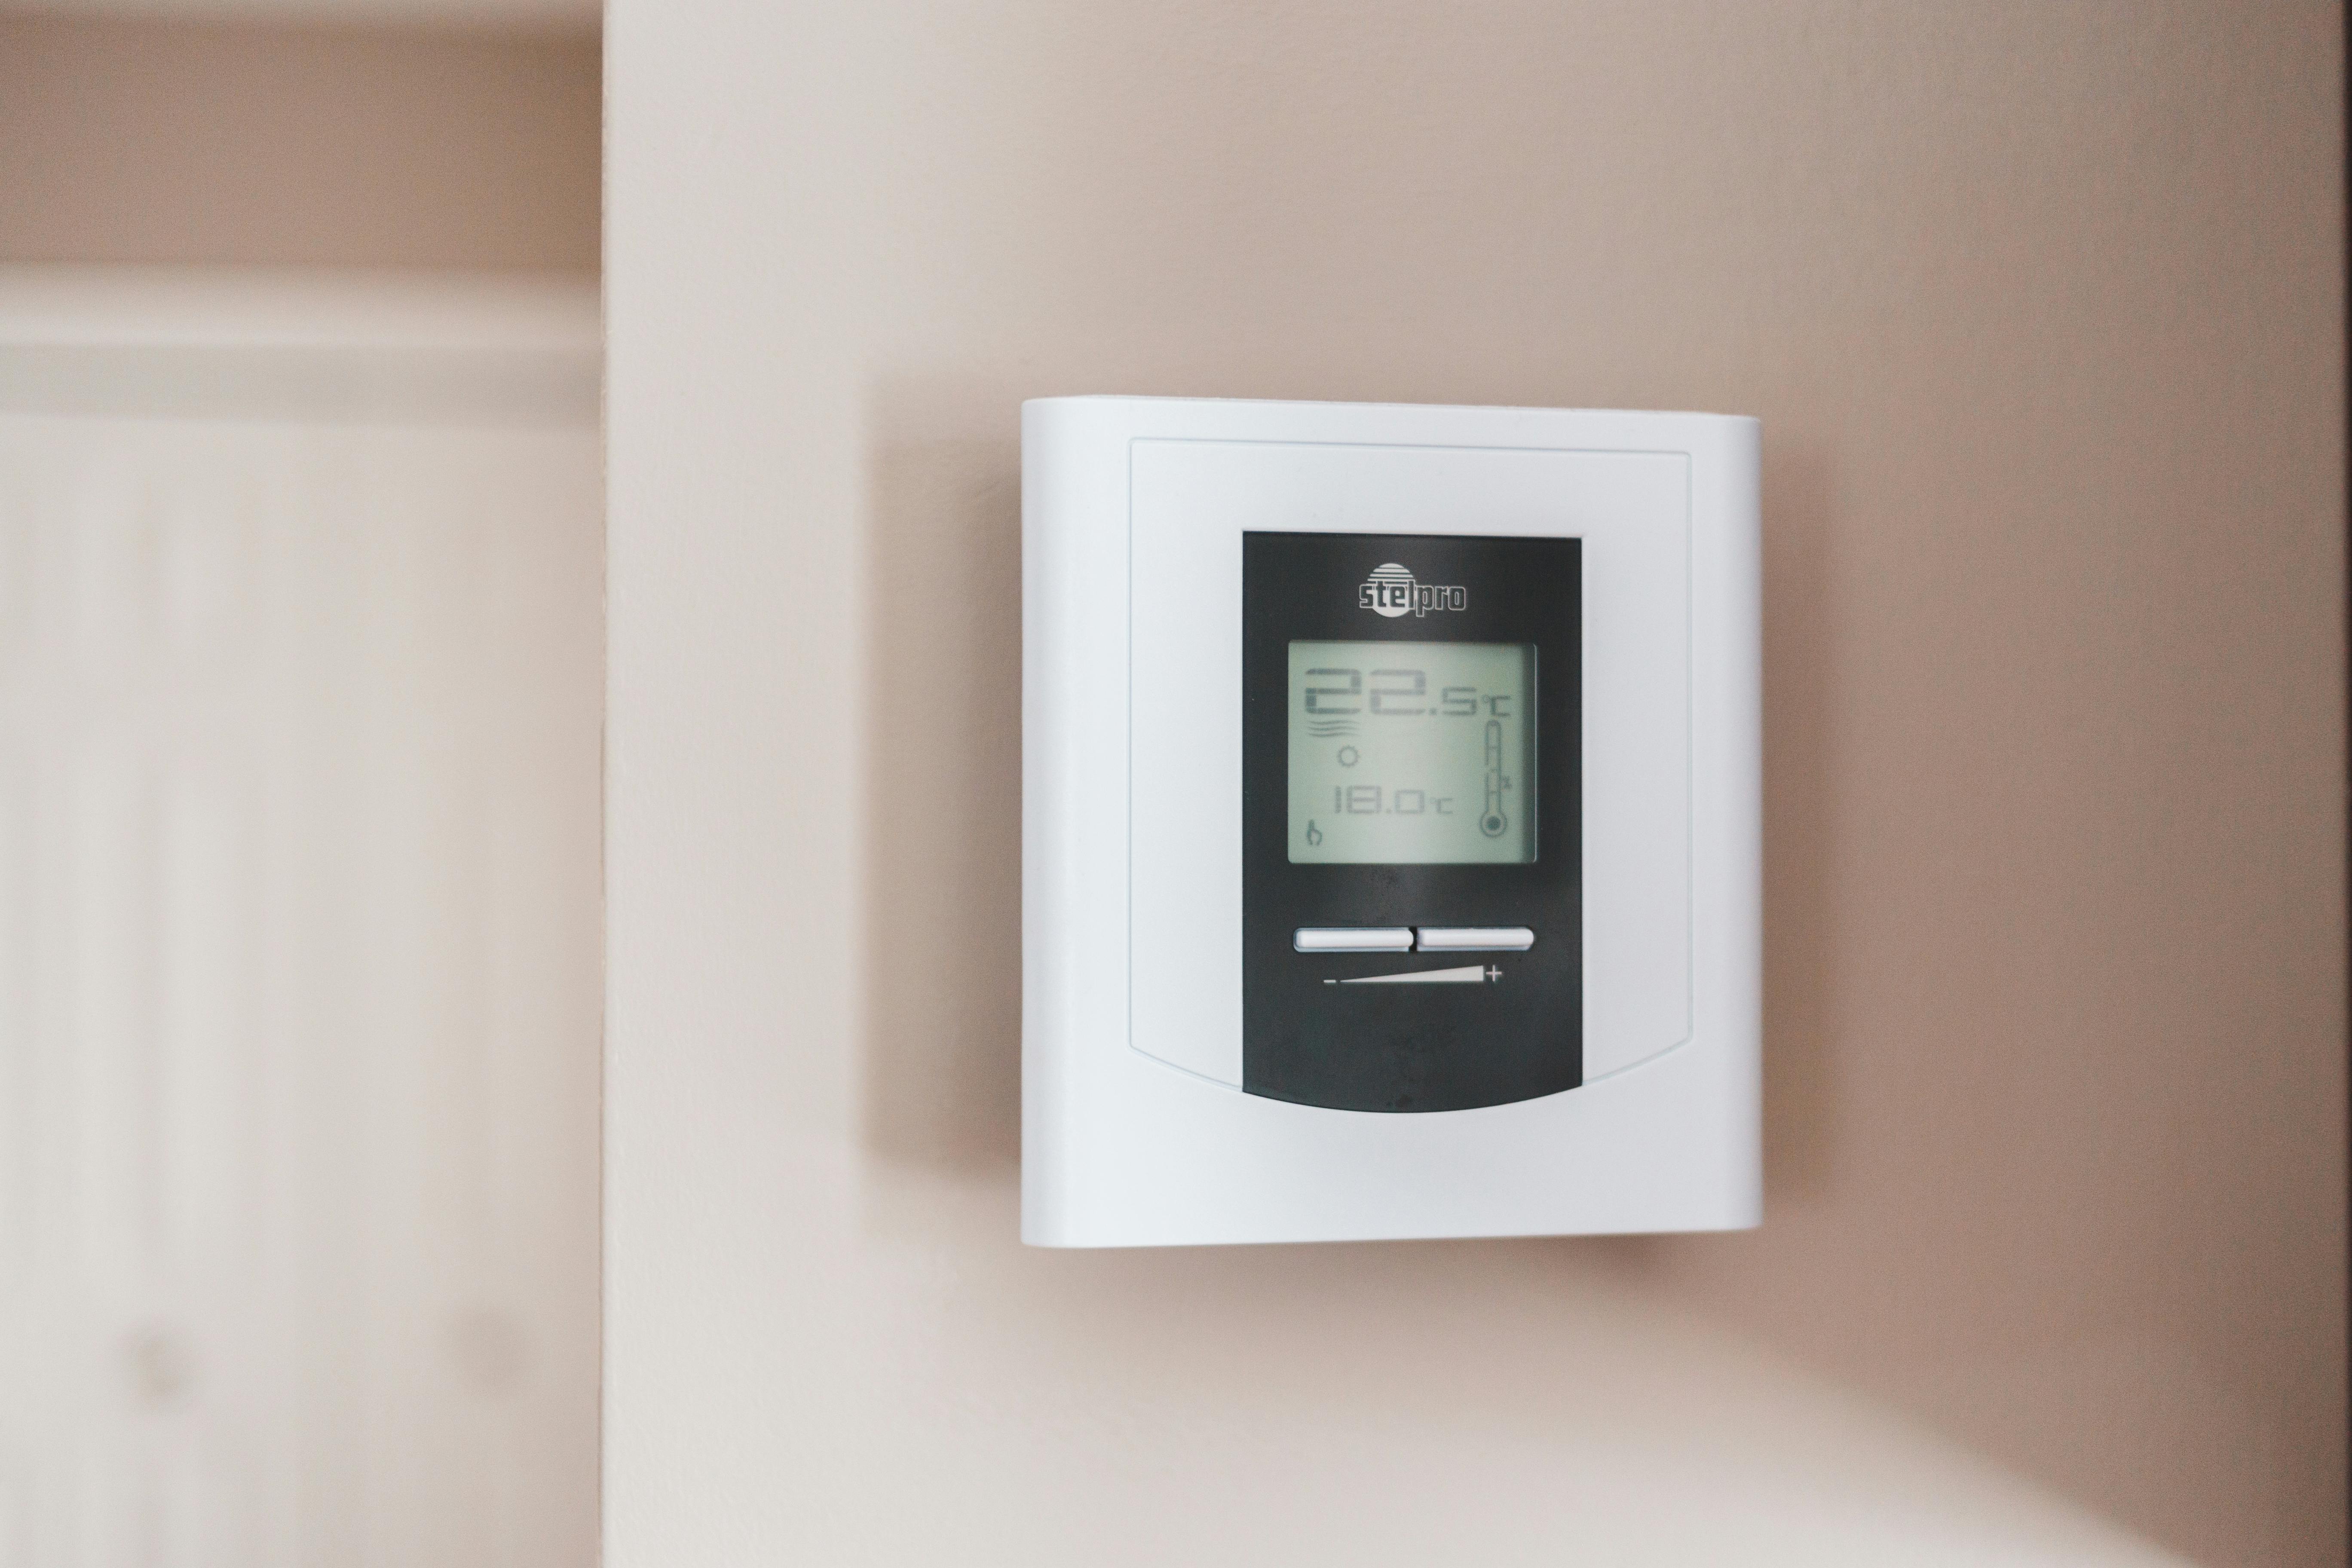
Thermostat Calibration
Test your thermostat’s accuracy:
- Tape an accurate thermometer near (not touching) the thermostat
- Wait 15 minutes for it to stabilize
- Compare readings—they should be within 1-2 degrees
- Many thermostats have a calibration offset setting to adjust this
Smart thermostats often have remote sensors you can place in different rooms. This helps average the temperature across your living space rather than relying on one location.
System-Related Causes
Undersized Equipment
If your system has always struggled to maintain temperature:
- The system may be too small for your home’s square footage
- Inadequate for your climate’s demands
- Calculate: typical systems provide 1 ton per 400-600 sq ft (varies by region and insulation)
Unfortunately, undersized systems require replacement or supplementation to truly fix.
Ductwork Problems
Leaky or poorly designed ducts waste conditioned air:
Signs of duct problems:
- Some rooms consistently too hot or cold
- Visible disconnections in accessible ducts
- High energy bills despite consistent use
- Whistling or airflow sounds from ducts
Professional duct sealing or repair may be needed.
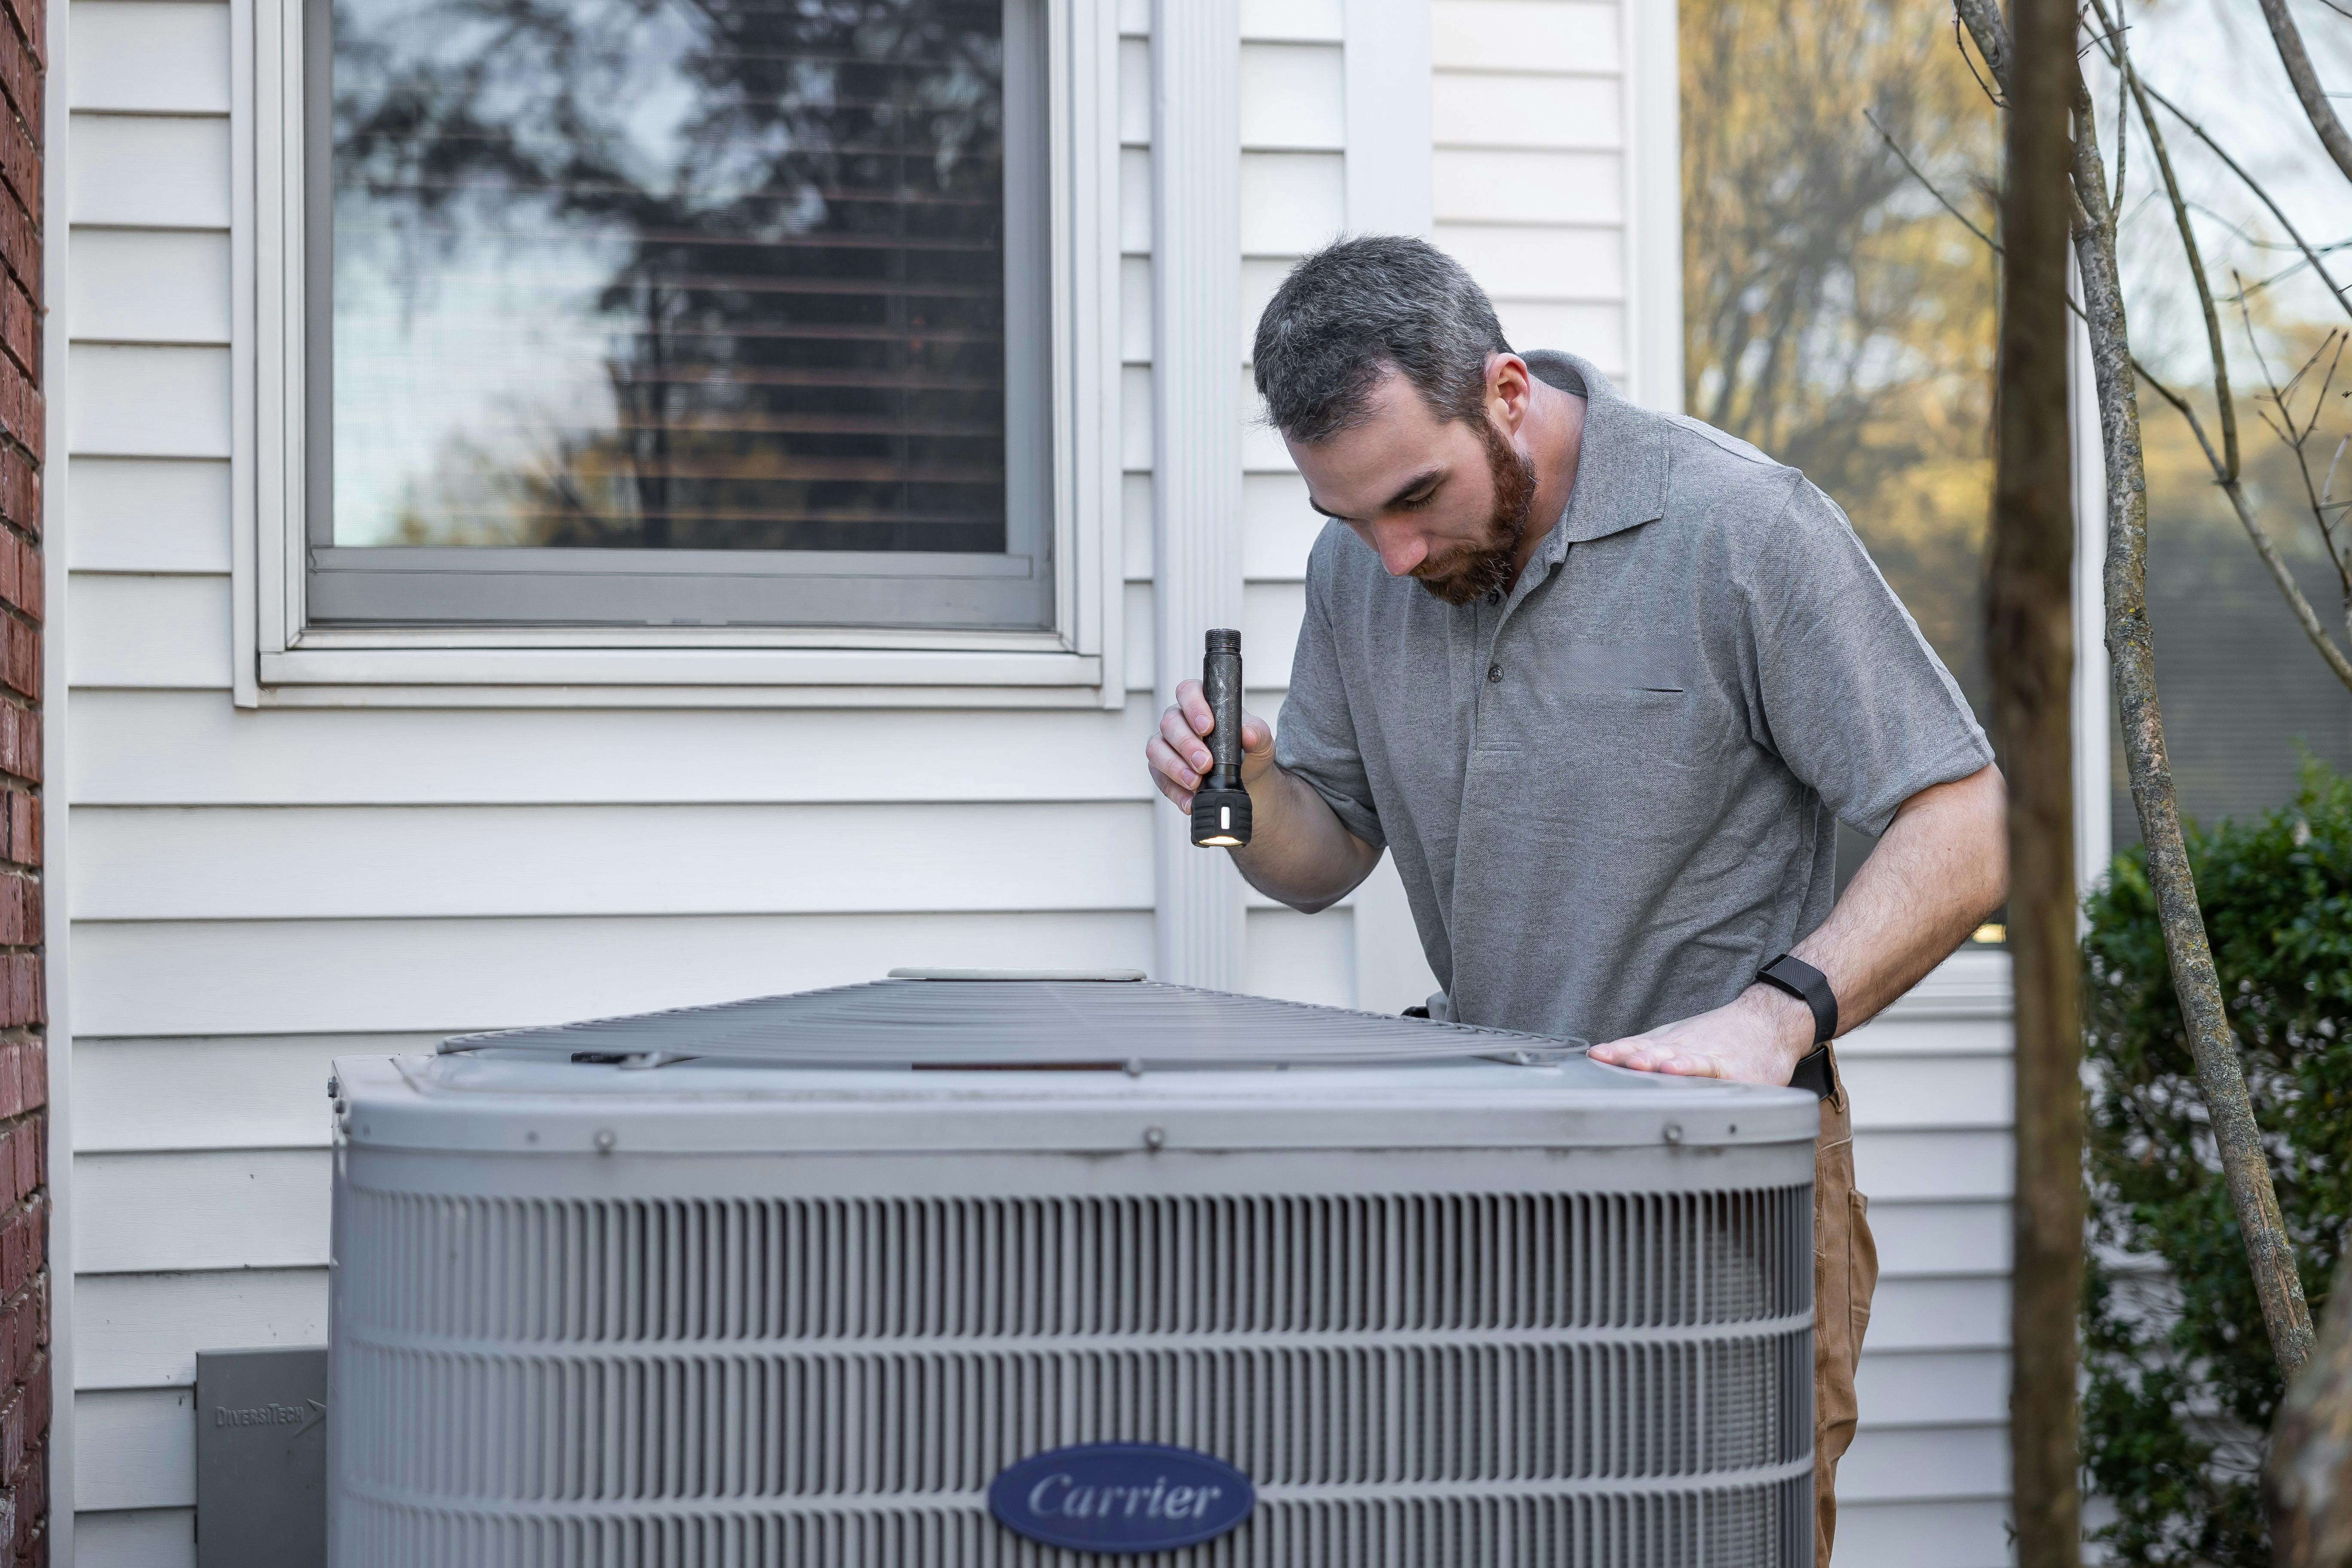
Dirty Components
System efficiency decreases when components are dirty:
Cooling season:
- Dirty evaporator coils (indoor)
- Dirty condenser coils (outdoor)
- These require professional cleaning
Heating season:
- Dirty burners
- Heat exchanger buildup
- Part of annual maintenance
Low Refrigerant
For AC systems that can’t cool sufficiently:
- Low refrigerant indicates a leak
- System loses capacity as refrigerant drops
- Must be diagnosed and repaired by a professional
Worn Components
Aging systems lose efficiency:
- Compressors lose capacity over time
- Blower motors may run slower
- Heat exchangers become less efficient
- Consider replacement if your system is 15+ years old
Environmental Factors
Extreme Weather
Your system has design limits:
- AC systems are typically sized for 95°F outdoor temps
- Furnaces for 0-10°F outdoor temps (varies by region)
- Extreme weather may overwhelm your system temporarily
- This is normal—not a malfunction
Air Leaks and Insulation
Your home’s envelope affects temperature:
Check for:
- Drafty windows and doors
- Gaps around electrical outlets on exterior walls
- Inadequate attic insulation
- Leaky recessed lighting
Improving insulation and sealing air leaks helps your system work more effectively.
Heat Gain Sources
Consider what’s adding heat to your home:
- Sun exposure through windows
- Heat-generating appliances running
- Multiple people in the space
- Lighting, especially incandescent
Manage these factors with blinds, cooking at cooler times, or LED lighting.
Checking Temperature Difference
A key diagnostic: measure the temperature difference between supply and return air:
For cooling:
- Place a thermometer at a supply vent (where cold air comes out)
- Place another at the return vent (where air enters the system)
- The difference should be 15-20°F
- Less than 15°F suggests a problem
For heating:
- Same process—supply vs. return temperature
- Expect 40-70°F difference for furnaces
- 15-25°F for heat pumps
Lower than expected differentials indicate system problems requiring professional diagnosis.
Take these measurements after the system has run for at least 15 minutes to get accurate readings.
Quick Troubleshooting Checklist
- Air filter is clean
- Thermostat is in a good location (no direct sun, drafts, or heat sources)
- Thermostat batteries are fresh (if applicable)
- All vents are open and unobstructed
- Outdoor unit (if cooling) is clear of debris
- No obvious duct disconnections
- System is appropriately sized for your home
When to Call a Professional
Contact an HVAC technician if:
- Temperature difference (supply vs. return) is abnormal
- System is properly sized but can’t keep up in normal weather
- You hear unusual sounds during operation
- Energy bills have increased significantly
- System cycles on and off frequently
- You’ve checked all the basics with no improvement
What to Tell the Technician
Helpful information for your service call:
- How far off from the set temperature does your home get?
- When did the problem start?
- Does it affect heating, cooling, or both?
- Which rooms are most affected?
- Any recent changes (new windows, additions, etc.)?
- When was the last maintenance performed?
This information helps the technician diagnose the issue more quickly.