
Regular appliance maintenance—cleaning coils, checking seals, and clearing debris—can extend appliance life by 30-50% and prevent costly emergency repairs. Most tasks take just minutes but save hundreds in repairs.
Your home appliances represent a significant investment, often $5,000-$15,000 combined. With proper maintenance, you can extend their lifespan, improve efficiency, and avoid unexpected breakdowns. This guide covers essential maintenance for your major home appliances.
Refrigerator Maintenance
Your refrigerator runs 24/7, making it one of your highest energy-consuming appliances.
Clean the Condenser Coils
Dusty coils are the #1 cause of refrigerator problems:
Location: Either behind (older models) or underneath (newer models)
How to clean:
- Unplug the refrigerator
- Locate the coils (remove base grille if underneath)
- Use a coil brush or vacuum with crevice attachment
- Brush/vacuum away dust and debris
- Clean the floor underneath
- Replace grille and plug back in
Frequency: Every 6-12 months (6 months if you have pets)
Check and Clean Door Seals
Worn seals waste energy and let warm air in:
The dollar bill test:
- Close a dollar bill in the door
- Try to pull it out
- If it slides out easily, the seal needs attention
Cleaning seals:
- Mix warm water with mild dish soap
- Wipe seals thoroughly
- Clean the seal groove where debris collects
- Dry completely
- Apply a thin layer of petroleum jelly to keep seals pliable
Frequency: Clean monthly; replace seals if cracked or damaged
Maintain Proper Temperature
Optimal settings for food safety and efficiency:
- Refrigerator: 35-38°F (1.7-3.3°C)
- Freezer: 0°F (-18°C)
Too cold wastes energy; too warm risks food safety.
Use an appliance thermometer to verify your refrigerator’s actual temperature—the dial settings aren’t always accurate.
Additional Refrigerator Maintenance
- Clean drip pan: Located underneath, can grow mold
- Replace water filter: Every 6 months for units with water/ice dispensers
- Defrost if needed: Manual-defrost units need defrosting when ice exceeds 1/4 inch
- Keep it full: A fuller refrigerator is more efficient (use water bottles if needed)
- Allow airflow: Don’t block vents inside with food
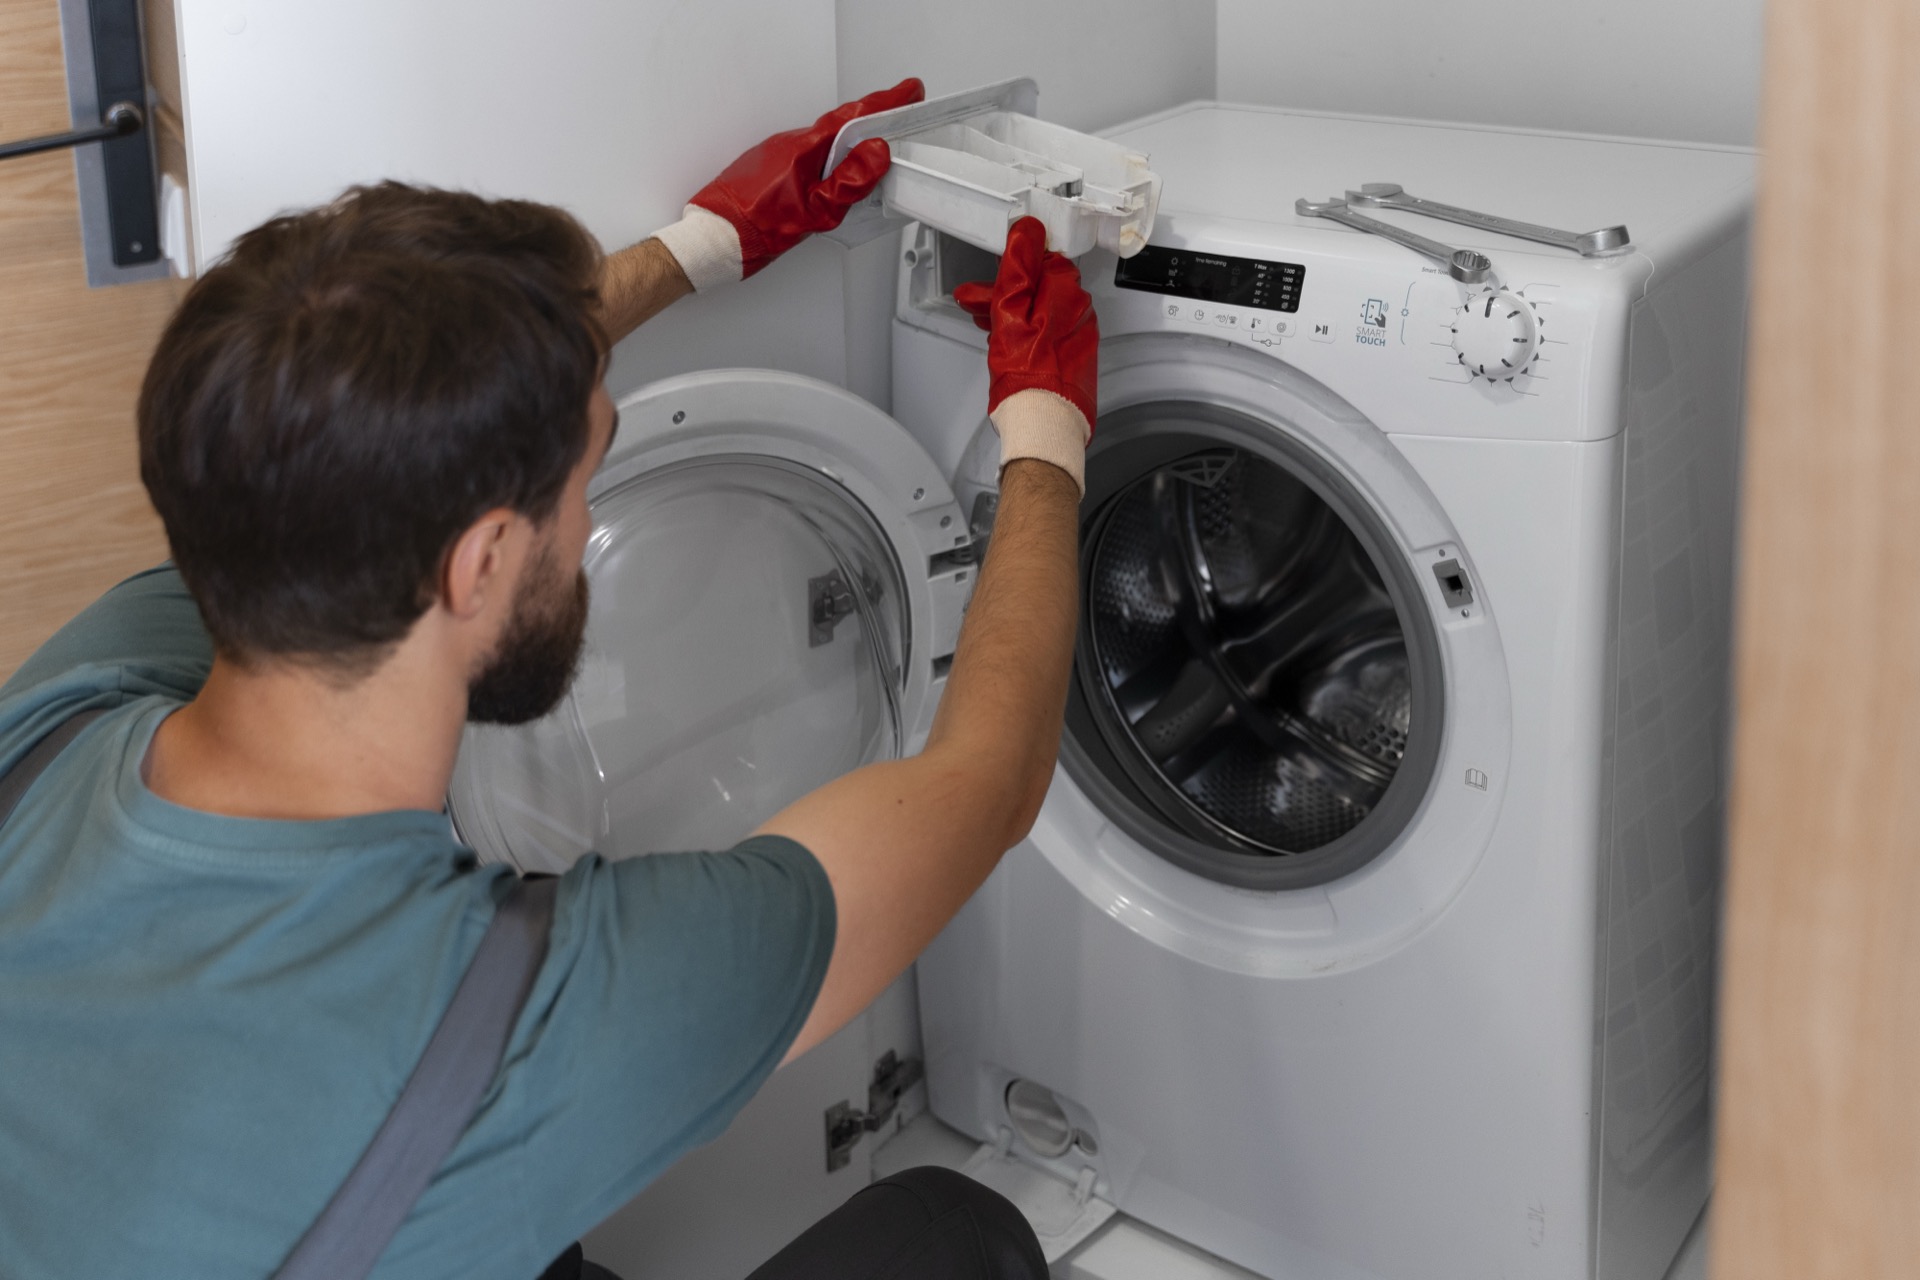
Washing Machine Maintenance
Clean the Machine Monthly
For front-loaders:
- Run a hot cycle with washing machine cleaner or 2 cups white vinegar
- Wipe the door gasket thoroughly (where mold hides)
- Clean the detergent dispenser drawer
- Leave the door ajar when not in use
For top-loaders:
- Fill with hot water
- Add 4 cups white vinegar, agitate briefly, let sit 1 hour
- Complete the cycle
- Wipe down the lid and drum
Prevent Mold and Odors
Front-load washers are especially prone to odors:
- Leave door open between loads to dry out
- Wipe gasket after each use
- Use HE detergent in proper amounts (too much leaves residue)
- Run hot cycles occasionally, even if you usually wash cold
- Remove wet clothes promptly
Check and Clean the Filter
Many washers have a filter that traps debris:
Location: Usually at the front bottom behind a small panel
How to clean:
- Place towels and a shallow pan under the filter area
- Open the access panel
- Slowly turn the filter cap (water will drain out)
- Remove debris (coins, hair, lint)
- Clean the filter and housing
- Replace and close
Frequency: Every 2-3 months
Inspect Hoses
Burst hoses cause major water damage:
Check for:
- Cracks, bulges, or blisters
- Rust at connections
- Kinks
- Signs of leakage
Recommendations:
- Replace rubber hoses every 5 years
- Better: Use braided stainless steel hoses
- Turn off supply valves when away for extended periods
Consider installing a washing machine pan (catches leaks) and an automatic shut-off valve (stops water if a leak is detected). These are inexpensive insurance against major water damage.
Level the Machine
An unlevel washer vibrates, walks, and wears out faster:
- Place a level on top of the machine
- Adjust the front feet by screwing them in or out
- Most rear feet are self-adjusting (tilt the machine forward, then back)
- Check again and fine-tune
Dryer Maintenance
Clean the Lint Trap
Every single load—this is critical for fire prevention:
- Remove the lint screen
- Roll lint off with your fingers
- Check for fabric softener buildup (reduces airflow)
- If screen looks clogged, wash with warm soapy water, let dry completely
Clean the Dryer Vent
Clogged vents cause fires and waste energy:
Signs of a clogged vent:
- Clothes take longer than one cycle to dry
- Dryer feels very hot
- Laundry room feels humid
- Burning smell
- Vent hood flap doesn’t open when dryer runs
How to clean:
- Unplug the dryer (or turn off gas valve)
- Pull the dryer away from the wall
- Disconnect the vent from the dryer
- Use a vent brush kit (long flexible brush) to clean the entire vent
- Vacuum inside the dryer where vent attaches
- Clean the exterior vent hood
- Reconnect and push dryer back
Frequency: At least annually; more if you do many loads
Additional Dryer Maintenance
- Clean behind and under: Lint accumulates and is a fire hazard
- Inspect drum seals: Look for wear that lets lint escape
- Check exhaust vent flap: Should open when dryer runs, close otherwise
- Don’t overload: Reduces efficiency and increases wear
- Clean the moisture sensor (if equipped): Wipe with rubbing alcohol
Dryer Vent Best Practices
- Use rigid metal duct when possible (not flexible vinyl)
- Keep vent run short (under 25 feet ideal)
- Minimize bends (each 90° bend = 5 feet of length)
- Never vent indoors (fire and moisture hazard)
Dishwasher Maintenance
Clean the Filter
Modern dishwashers have manual-clean filters:
Location: Usually at the bottom center of the tub
How to clean:
- Remove the bottom rack
- Twist and remove the filter assembly
- Rinse under running water
- Scrub with a soft brush to remove buildup
- Replace filter
Frequency: Weekly to monthly depending on use
Clean the Spray Arms
Clogged spray arms mean poor cleaning:
- Remove spray arms (usually twist off)
- Inspect holes for clogs
- Clear holes with a toothpick or thin wire
- Rinse thoroughly
- Reinstall
Run Cleaning Cycles
Monthly maintenance wash:
- Empty the dishwasher
- Place a cup of white vinegar in the top rack
- Run a hot cycle
- Sprinkle baking soda on the bottom
- Run a short hot cycle
Or use commercial dishwasher cleaner monthly.
Check the Door Seal
A worn seal allows leaks and reduces efficiency:
- Wipe gasket clean regularly
- Check for cracks or hardening
- Replace if damaged
Run your garbage disposal before starting the dishwasher—they often share a drain line. A clogged disposal can cause dishwasher drainage problems.
Additional Dishwasher Maintenance
- Scrape dishes (don’t pre-rinse, but remove large food)
- Load properly: Don’t block spray arms
- Use rinse aid: Prevents spots and improves drying
- Run hot water at the sink before starting (ensures hot water from the start)
- Leave door ajar after cycle to dry out
Oven and Range Maintenance
Cleaning Your Oven
Self-cleaning feature:
- Remove racks (they can discolor in self-clean mode)
- Wipe up loose debris first
- Run self-clean cycle (usually 2-4 hours)
- Let cool completely before opening
- Wipe out ash with damp cloth
Caution: Self-cleaning uses extreme heat. Don’t leave home during the cycle. Some recommend not using self-clean on very old ovens.
Manual cleaning:
- Remove racks
- Apply oven cleaner per directions (or baking soda paste for natural cleaning)
- Let sit overnight
- Wipe clean with damp cloths
- Clean racks separately in the sink
Range Maintenance
Gas ranges:
- Remove and clean burner grates regularly
- Lift the cooktop to clean underneath (many models have hinged tops)
- Clean burner heads and ports (clogged ports cause uneven flames)
- Check flame color: Blue is normal; yellow indicates issues
Electric coil ranges:
- Lift coils and clean drip pans
- Replace damaged drip pans (they’re cheap)
- Inspect coil elements for damage
Glass/ceramic cooktops:
- Clean daily with cooktop cleaner (regular cleaners can scratch)
- Use a razor scraper for burnt-on residue
- Never use abrasive pads
- Address spills quickly before they burn on
Range Hood Maintenance
The range hood is often neglected:
Clean filters monthly:
- Remove metal mesh filters
- Soak in hot soapy water with degreaser
- Scrub gently
- Rinse and dry completely
- Replace
Additional range hood care:
- Wipe exterior and interior surfaces
- Replace charcoal filters every 6-12 months (recirculating models)
- Ensure fan operates properly
- Clean ducting if accessible
Garbage Disposal Maintenance
Proper Use
What goes in:
- Most food scraps in small amounts
- Cold water while running and after
What doesn’t go in:
- Grease or oil
- Bones (small chicken bones may be okay)
- Fibrous vegetables (celery, artichokes)
- Pasta, rice (they expand)
- Coffee grounds in large amounts
- Fruit pits
- Non-food items
Cleaning Your Disposal
Regular cleaning (weekly):
- Run cold water
- Add ice cubes and rock salt
- Run disposal until ice is gone
- Follow with cold water
Deep cleaning (monthly):
- Turn off disposal
- Use tongs to remove any debris
- Pour 1/2 cup baking soda down drain
- Add 1 cup white vinegar
- Let fizz for 10 minutes
- Flush with hot water while running disposal
Deodorizing:
- Grind citrus peels (lemon, orange, lime)
- Freeze vinegar in ice cube trays, grind the cubes
Always run cold water (not hot) when using the disposal. Cold water solidifies grease so it can be chopped up, while hot water melts it into the pipes where it can cause clogs.
Troubleshooting a Jammed Disposal
- Turn off the disposal
- Never put hands inside
- Use reset button on the bottom of the unit
- Use the hex wrench (usually included with disposal) in the hole at the bottom to manually rotate the blades
- Use tongs to remove any obstruction
- Try reset button again
Microwave Maintenance
Keeping It Clean
- Clean spills immediately before they harden
- Wipe interior weekly with damp cloth and dish soap
- Steam clean: Heat a bowl of water with lemon juice for 5 minutes, let sit, then wipe
- Clean the turntable in the dishwasher
- Wipe exterior and control panel regularly
Microwave Safety
- Don’t run empty (can damage magnetron)
- Check door seal for damage
- Replace if door doesn’t close properly
- Keep vents clear for proper airflow
Small Appliance Maintenance
Coffee Maker
Monthly descaling:
- Fill reservoir with equal parts water and white vinegar
- Run half the cycle, then pause for 30 minutes
- Complete the cycle
- Run 2-3 cycles with plain water to rinse
Toaster
- Unplug and empty crumb tray regularly
- Turn upside down and shake over sink
- Never use metal utensils inside
- Wipe exterior with damp cloth
Blender
- Blend warm water with dish soap after each use
- Disassemble and clean blade assembly regularly
- Check gasket for wear
Appliance Maintenance Schedule
After Each Use
- Clean dryer lint trap
- Wipe cooktop spills
- Rinse blender
- Wipe microwave spills
Weekly
- Clean dishwasher filter
- Clean garbage disposal
- Wipe down appliance exteriors
Monthly
- Clean washing machine (run cleaning cycle)
- Clean dishwasher (vinegar cycle)
- Clean refrigerator interior
- Clean range hood filters
- Descale coffee maker
Every 6 Months
- Clean refrigerator coils
- Replace refrigerator water filter
- Deep clean oven
- Check washing machine hoses
- Inspect dryer vent
Annually
- Clean dryer vent thoroughly
- Service major appliances (professional check)
- Check appliance condition, plan for replacements
When to Call a Professional
Some repairs require expert help:
- Gas connections: Any gas smell or leak
- Refrigerant issues: Refrigerator not cooling, compressor problems
- Electrical problems: Sparking, burning smell, tripped breakers
- Water heater: Leave to pros due to gas/electrical and pressure risks
- Any repair you’re uncomfortable with
Extending Appliance Life
General tips for all appliances:
- Read the manual: Manufacturer recommendations matter
- Don’t overload: Washers, dryers, dishwashers all suffer from overloading
- Use as intended: Appliances aren’t designed for improvised uses
- Address issues early: Strange noises, smells, or performance changes mean something
- Keep them clean: Buildup causes many problems
- Ensure proper ventilation: Refrigerators and dryers need airflow
With regular maintenance, your appliances will run efficiently, last longer, and be less likely to fail when you need them most. The small time investment pays off in reliability and lower utility bills.