Most P-trap leaks are caused by loose slip nuts or worn washers. Tighten the nuts first—hand-tight plus a quarter turn with pliers. If that doesn’t work, replace the slip joint washers. If the P-trap itself is cracked or corroded, replace the whole unit.
A leaking P-trap under your sink creates water damage, encourages mold, and indicates something needs fixing. The good news: P-trap repairs are among the easiest plumbing fixes, requiring no special tools and minimal cost.
Understanding P-Trap Anatomy
Before fixing the leak, know the parts:
P-trap assembly:
- The curved U-shaped pipe (holds the water seal)
- A shorter straight piece (tailpiece connection)
- Sometimes an extension piece
Connections:
- Upper slip joint: Connects to the sink tailpiece
- Lower slip joint: Connects to the wall drain pipe
- Slip nuts: Threaded rings that compress washers to seal joints
- Slip joint washers: Tapered rubber or plastic seals
Finding the Leak Source
Don’t guess—identify exactly where water is escaping.
Visual Inspection
- Clear everything from under the sink
- Wipe the P-trap completely dry with a towel
- Run water in the sink for 30 seconds
- Watch carefully for where water first appears
- Use a flashlight to see clearly
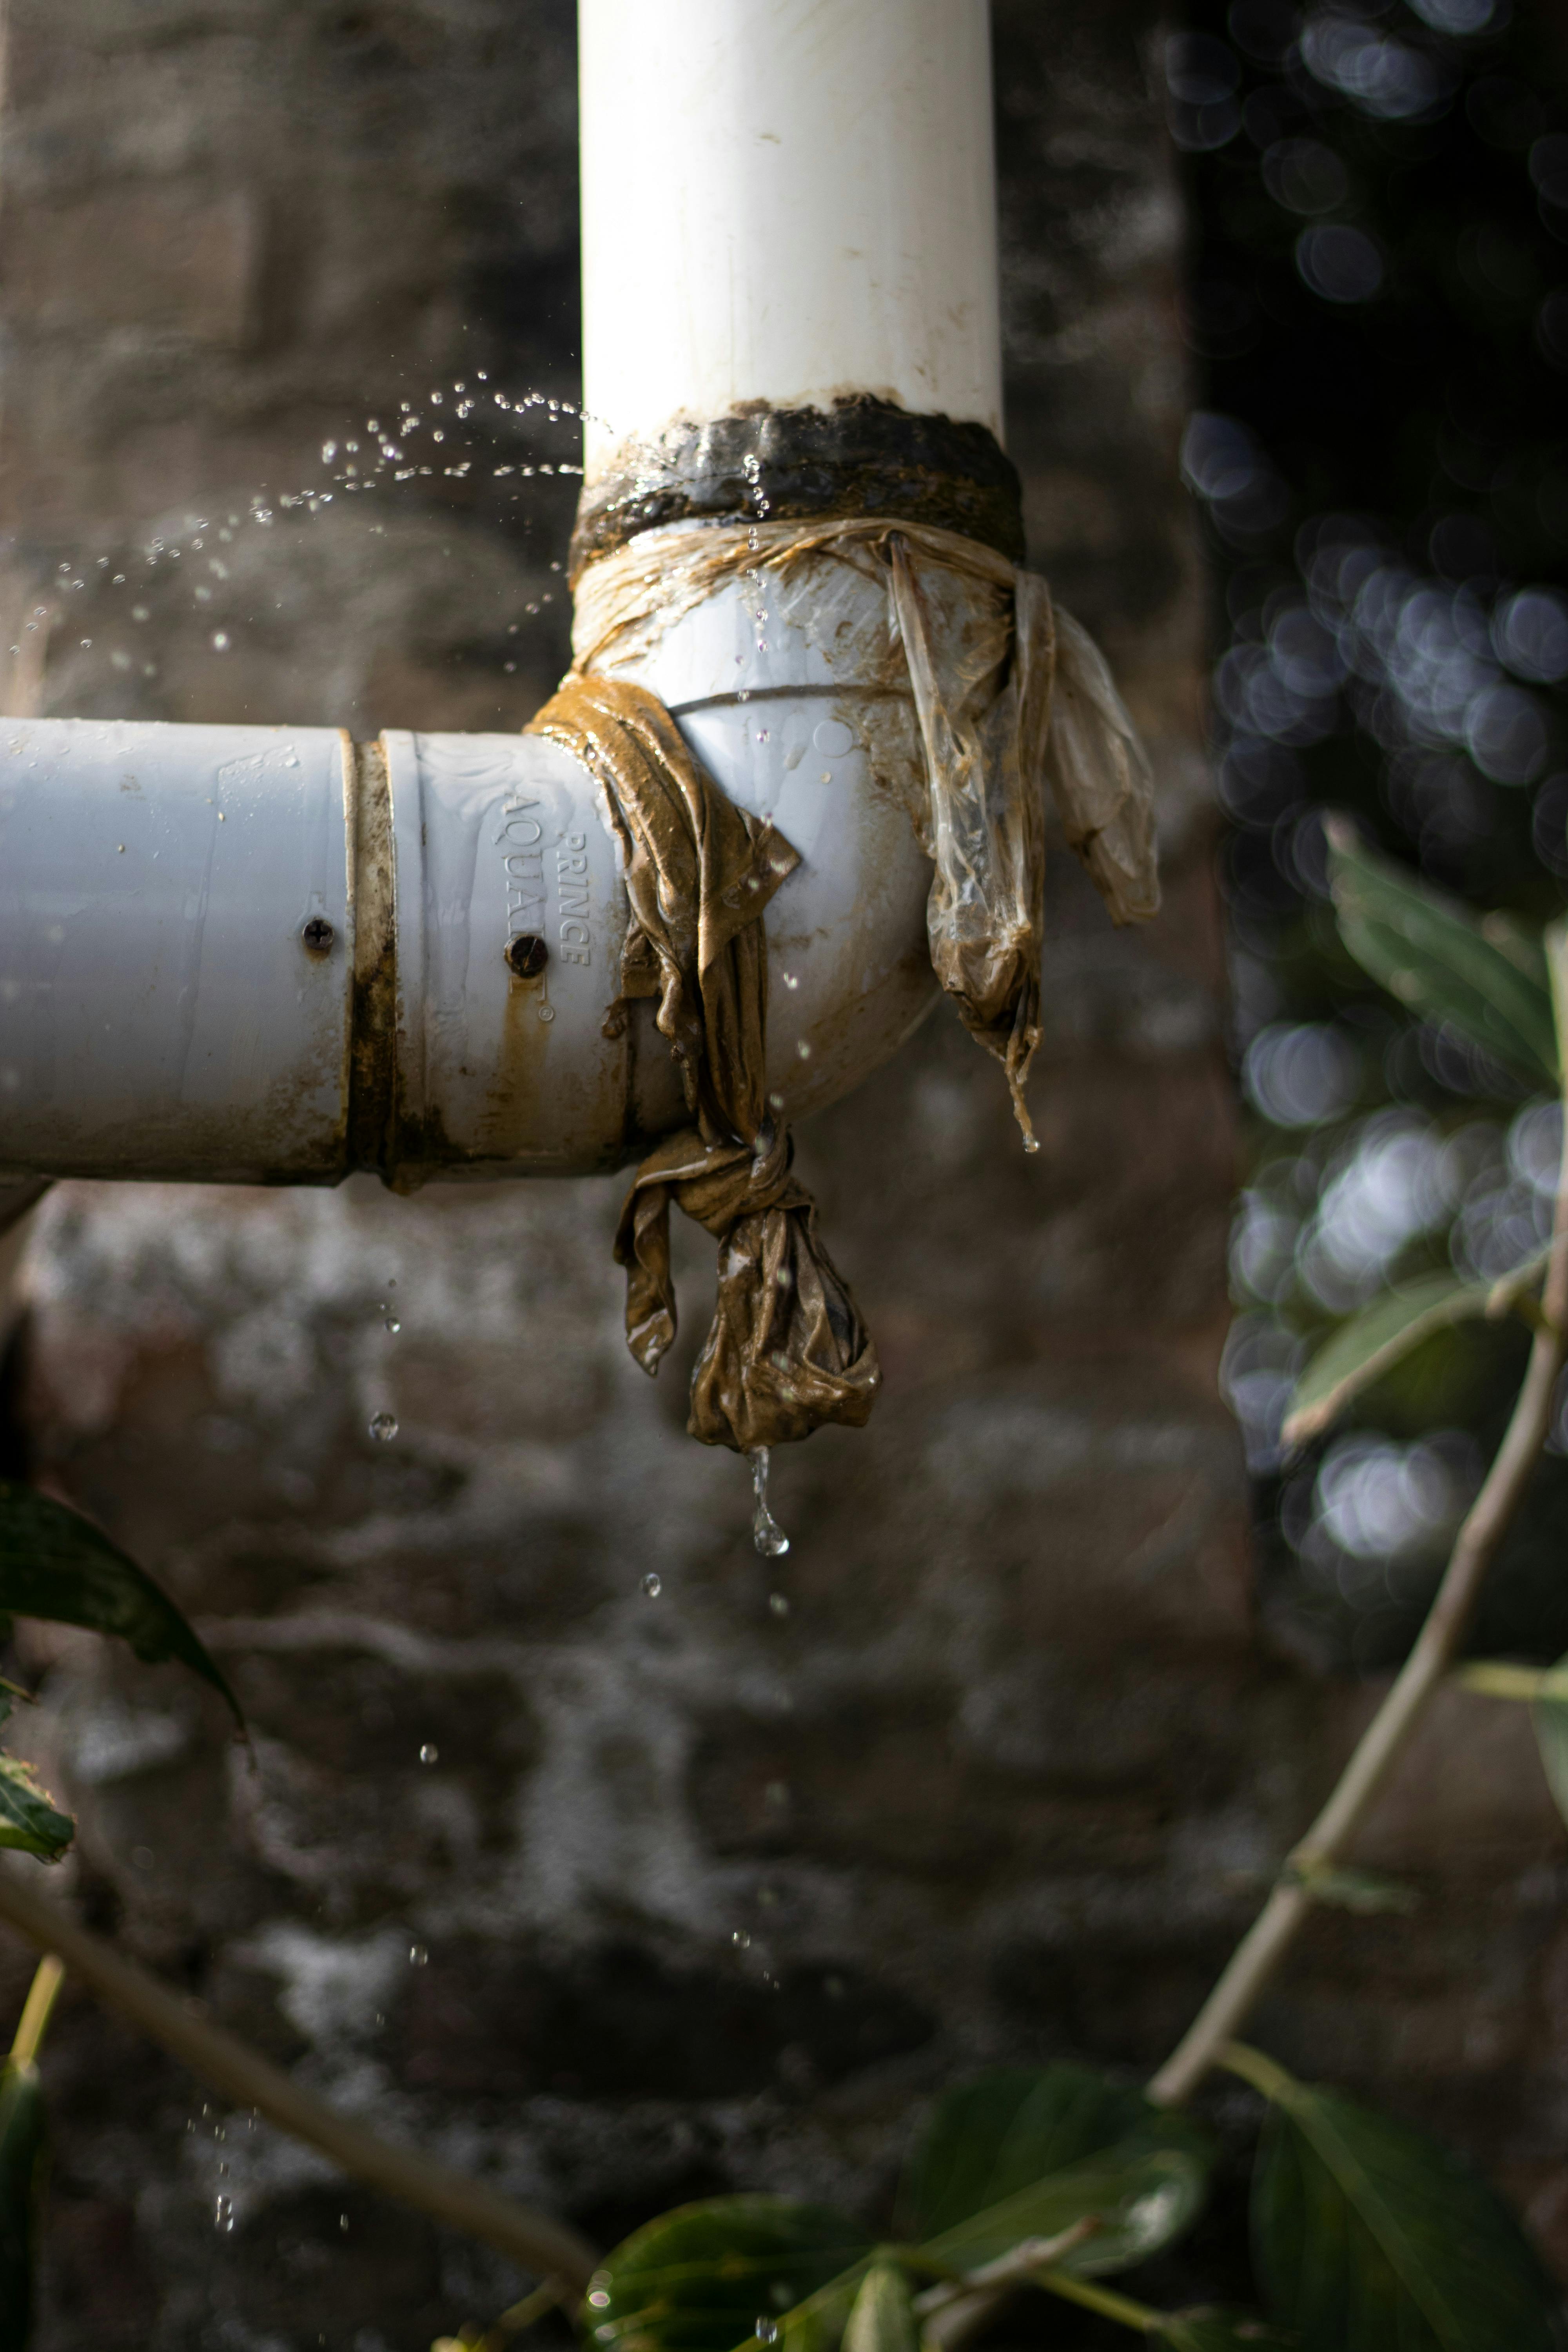
Common Leak Locations
Upper slip joint (at tailpiece): Water drips from the top connection
Lower slip joint (at wall): Water drips from the bottom connection
Body of the P-trap: Water seeps through corrosion or cracks
Tailpiece connection (above P-trap): Actually a drain basket or tailpiece problem, not the P-trap
Place a dry paper towel under the P-trap and run water. The wet spot shows you exactly where the leak originates—sometimes drips travel along the pipe and appear to come from somewhere else.
Fixing Loose Slip Joints
Most P-trap leaks are simply loose connections. Try this first.
Tightening Slip Nuts
- Hand-tighten first: Turn the slip nut clockwise as tight as you can by hand
- Use pliers: Add a quarter turn with channel-lock pliers
- Don’t overtighten: Too much force can crack plastic nuts or strip threads
- Test: Run water and check for leaks
If tightening stops the leak, you’re done. If not, the washer needs replacement.
Replacing Slip Joint Washers
Worn, hardened, or misaligned washers are the next most common cause.
Steps to Replace Washers
- Place a bucket under the P-trap to catch water
- Loosen both slip nuts counterclockwise
- Remove the P-trap—water inside will spill into the bucket
- Inspect the washers on both ends
- Remove old washers from the slip nuts
- Note washer orientation: Tapered side faces the connection (thick end goes in first)
- Install new washers in the slip nuts
- Reassemble the P-trap
- Hand-tighten plus quarter turn with pliers
- Test for leaks
Washer Tips
- Match the size: Take old washers to the store to match
- Buy a variety pack: Different sizes for $3-5
- Tapered vs. flat: Slip joints use tapered (beveled) washers
- Check both ends: Replace both even if only one looks bad
When reinstalling, align the P-trap properly before tightening. Forcing misaligned parts causes leaks. The assembly should sit naturally without stress on the joints.
Replacing the P-Trap
If the P-trap itself is damaged, replacement is the answer.
Signs You Need a New P-Trap
- Visible cracks in the plastic or metal
- Corrosion or rust (common in chrome-plated metal traps)
- Stripped threads on slip nuts
- Damaged or misshapen pipe
- Persistent leaks after trying other fixes
Choosing a Replacement
PVC P-traps (white plastic):
- Most common, inexpensive ($5-10)
- Won’t corrode
- Easy to cut and fit
- Suitable for most applications
ABS P-traps (black plastic):
- Similar to PVC
- Check local codes—some areas require one or the other
Chrome/brass P-traps:
- More attractive for exposed installations
- More expensive ($20-40)
- Will eventually corrode (chrome plating flakes)
- Use when aesthetics matter (pedestal sinks, etc.)
Measuring for Replacement
Measure these before buying:
- Diameter: Usually 1-1/4” (bathroom) or 1-1/2” (kitchen)
- Tailpiece length: Distance from sink to where P-trap starts
- Wall pipe height: How high the wall drain is
- Wall pipe depth: How far the wall pipe sticks out
Most P-traps are adjustable, but extreme situations may need extension pieces.
Installation Steps
- Remove the old P-trap (bucket underneath)
- Dry-fit the new P-trap without tightening
- Check alignment: Should sit naturally without forcing
- Trim tailpiece if needed (use hacksaw, deburr the edge)
- Install slip nut and washer on tailpiece (washer taper facing down)
- Connect upper joint and hand-tighten
- Connect lower joint to wall pipe
- Hand-tighten both slip nuts
- Final tightening: Quarter turn with pliers
- Test thoroughly: Run water for a full minute, check all joints
Special Situations
Double Sink P-Traps
Double kitchen sinks connect to a shared P-trap via a continuous waste assembly or two separate traps connected to a tee. The same leak diagnosis and repair applies, but there are more joints to check.
Garbage Disposal Connections
The disposal connects to the P-trap via a tailpiece. If leaking at the disposal:
- Check the disposal discharge tube connection
- Tighten the hose clamp
- Ensure the knockout plug was removed when disposal was installed
P-Trap Keeps Coming Loose
If the slip nut won’t stay tight:
- Threads may be stripped (replace the nut or whole trap)
- Wrong size washer
- Cross-threaded—unscrew and restart carefully
- Misalignment putting stress on joint
Smell Without Visible Leak
If you smell sewer gas but see no leak:
- P-trap water may have evaporated (run water to refill)
- Crack letting gas through without visible water leak
- Improper installation without a proper water seal
Prevention
- Don’t overtighten slip joints—causes cracks
- Check periodically when cleaning under the sink
- Fix small leaks promptly—they get worse
- Upgrade chrome to plastic if corrosion is recurring
When to Call a Plumber
This is usually a DIY job, but call for help if:
- Wall pipe is damaged or corroded
- Pipes don’t align despite adjusting
- Leak is coming from inside the wall
- You’re dealing with main drain issues
- Multiple fixtures are backing up
Parts Cost Summary
| Item | Cost |
|---|---|
| Slip joint washer pack | $3-5 |
| PVC P-trap | $5-10 |
| Chrome P-trap | $20-40 |
| Extension tailpiece | $5-8 |
| Complete P-trap kit | $12-20 |
Next Steps
If your P-trap was clogged before it started leaking, see Slow Drain Fixes for proper clearing techniques. Make sure you know where your shut-off valves are before working on any plumbing. For complete plumbing guidance, visit our Plumbing Fixes Guide.