Small drywall holes are the easiest DIY repairs. For nail holes under 1/4 inch, use lightweight spackle—it dries in 15-30 minutes and needs one coat. For holes 1/4 to 1 inch, use a self-adhesive mesh patch with joint compound, requiring 2-3 coats with 24-hour drying between each. Always prime before painting to prevent “flashing.”
Patching small drywall holes is a quick fix that anyone can do. The key is using the right product for the hole size and never skipping primer—even when the product claims you can.
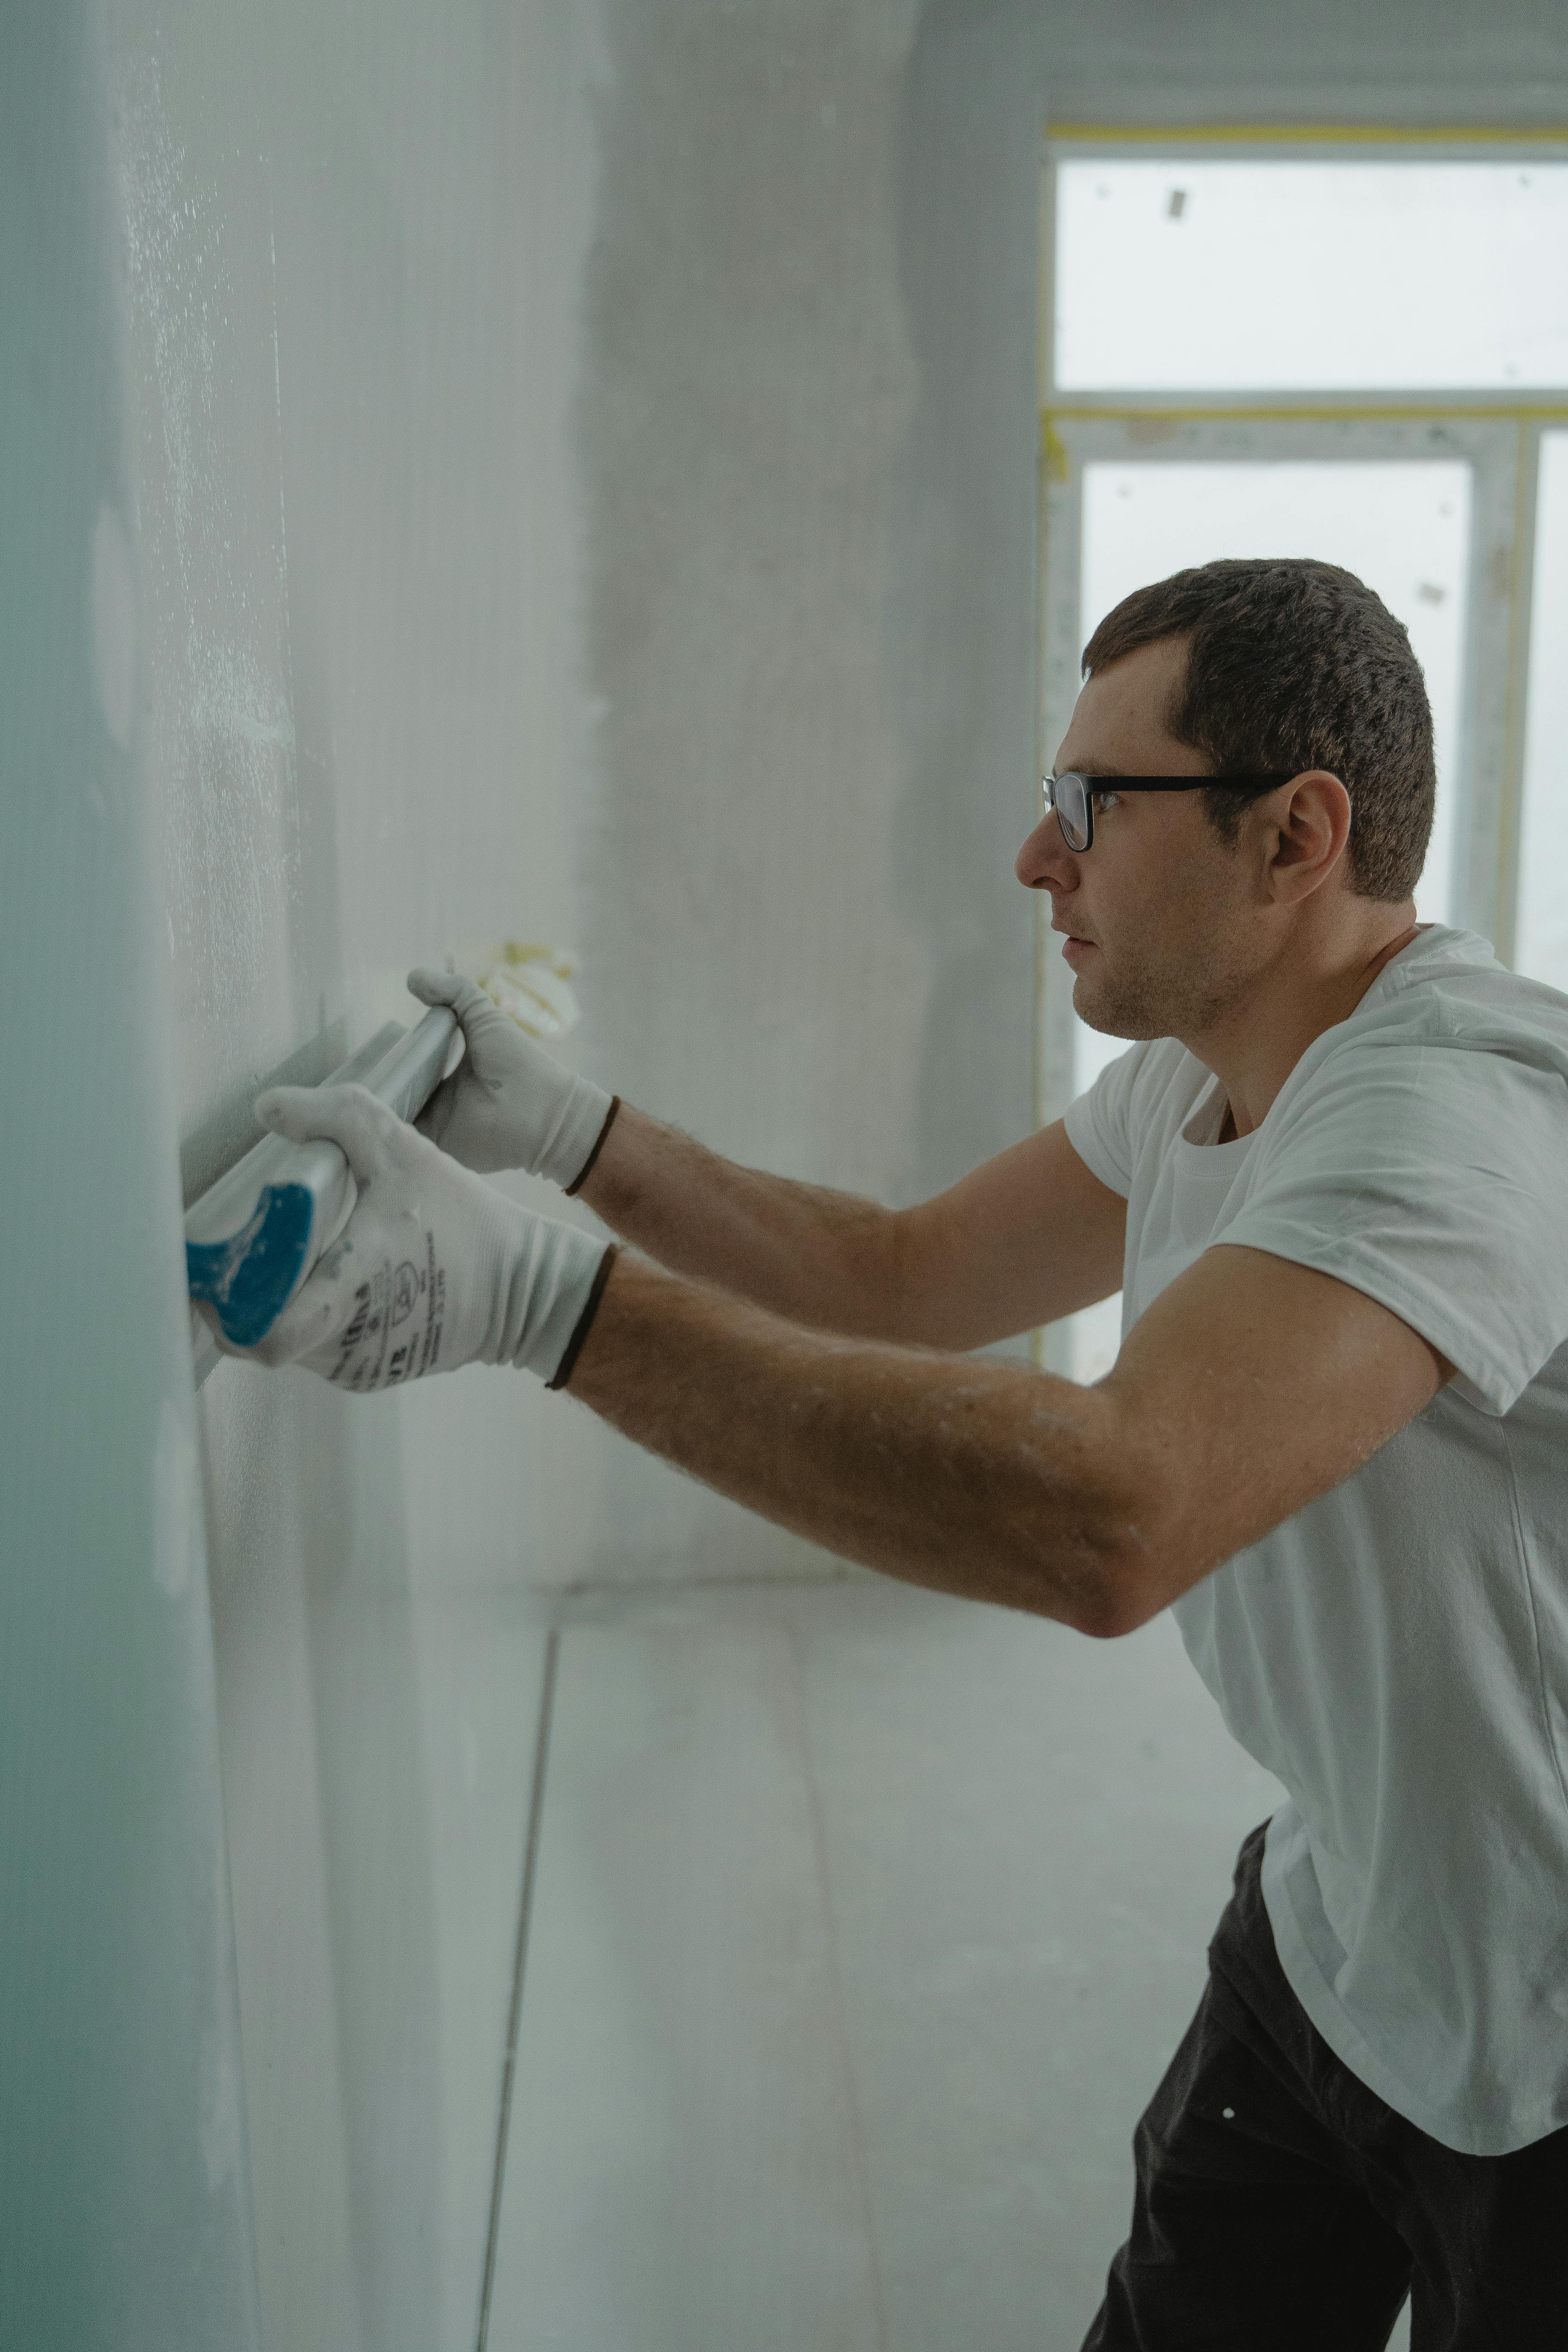
What You’ll Need
Tools:
- Putty knife (2” for nail holes, 4” for small holes, 6” for feathering)
- Sandpaper or sanding block (120-220 grit)
- Sanding sponge (medium to fine)
- Drop cloth
- Dust mask and safety goggles
Materials:
- Lightweight spackle: $5-10 (for holes under 1/4”)
- Self-adhesive mesh patches: $3-6 (for 1/2-1” holes)
- Joint compound: $8-15/gallon (for larger repairs)
- Primer: $10-15
Spackle vs. Joint Compound
| Factor | Spackle | Joint Compound |
|---|---|---|
| Best for | Small repairs under 1” | Large repairs, seams |
| Drying time | 15-30 minutes | 24 hours |
| Shrinkage | Minimal to none | Significant |
| Coats needed | Usually 1 | 2-3 minimum |
Product recommendations:
- DAP DryDex ($6-8) — Goes on pink, turns white when dry
- DAP Fast ‘N Final — No sanding needed for tiny holes
- 3M High Strength Small Hole Repair Kit ($14-17) — Includes spackle, patch, knife, sanding pad
Step-by-Step: Nail Holes (Under 1/4 Inch)
-
Prepare the hole — Use your hammer’s rounded end to tap the nail hole inward, creating a small indentation for the spackle to grip.
-
Apply spackle — Load a small amount onto a 2” putty knife. Press into the hole at a 45-degree angle, then scrape flat with one smooth pass. Slightly overfill.
-
Let dry — Wait 15-30 minutes (or until DAP DryDex turns from pink to white).
-
Sand smooth — Use 150-grit sandpaper in light circular motions until flush with the wall.
-
Prime and paint — Apply primer to the patched area. For touch-ups, dab paint with a cloth rather than brushing to blend texture.
For nail holes, one coat is usually enough. If you see shrinkage after drying, apply a second thin coat rather than trying to fill it all at once.
Step-by-Step: Medium Holes (1/4 to 1 Inch)
-
Clean the area — Remove loose debris and push down any protruding drywall fibers.
-
Apply mesh patch — For holes 1/2” and larger, center a self-adhesive mesh patch over the hole, extending 1” beyond edges on all sides.
-
First coat — Load a 4” putty knife with spackle or joint compound. Spread in a crisscross pattern over the patch. Feather edges 2-3” beyond the patch. Keep thin (1/8” or less).
-
Dry and sand — Wait 1-2 hours for spackle, 24 hours for joint compound. Sand lightly with 120-150 grit.
-
Second coat — Apply another thin coat, extending 2” beyond the first. Feather edges carefully.
-
Final sand — After drying, sand with 180-220 grit. Use an angled light to check for imperfections.
-
Prime and paint — Prime the entire patched area before painting.
Drying Times
| Product | Dry Time | Ready to Paint |
|---|---|---|
| DAP DryDex | Pink to white | 15 min (small) |
| Lightweight spackle | 15-30 min | After sanding |
| Heavyweight spackle | 1-2 hours | After sanding |
| Joint compound | 24 hours | After sanding |
Sanding Grit Guide
| Stage | Grit | Purpose |
|---|---|---|
| Initial | 100-120 | Remove high spots |
| Intermediate | 150 | Smooth surface |
| Final | 180-220 | Blend with wall |
Never go below 100 grit (damages drywall paper) or above 300 grit (too smooth for primer adhesion).
Why Priming Matters
Skipping primer is the #1 cause of visible repairs. Even products labeled “no priming needed” benefit from primer because:
- Spackle absorbs paint differently than drywall
- Unprimed patches create “flashing” (shiny or dull spots)
- Primer seals the repair and creates uniform absorption
Use drywall primer or PVA primer over all repairs.
When to Call a Pro
Call a professional if:
- Holes are larger than 4-6 inches (require backing support)
- You see signs of water damage or mold
- The hole is near electrical wiring or plumbing
- You have textured walls requiring matching
- You have plaster walls (different repair technique)
Common Mistakes to Avoid
- Applying too thick — Thick coats shrink and crack. Multiple thin coats (1/8” max) work better.
- Not waiting for complete drying — Causes bubbling, cracking, and peeling under paint.
- Skipping primer — Creates visible “flashing” even with perfect sanding.
- Over-sanding — Damages drywall paper facing, creating fuzzy texture.
- Using mesh patch for tiny holes — Nail holes under 1/4” need only spackle.
Frequently Asked Questions
Should I use spackle or joint compound for small holes?
Use lightweight spackle for nail holes under 1/4 inch—it dries in 15-30 minutes and usually needs only one coat. For holes 1/4 to 1 inch, use heavyweight spackle or joint compound with a mesh patch. Joint compound shrinks more and requires multiple coats.
Why does my patched area show through paint?
This “flashing” occurs when you skip primer. Spackle and joint compound absorb paint differently than surrounding drywall, creating shiny or dull spots. Always prime repaired areas before painting, even with products labeled “no priming needed.”
How long should I wait before painting over spackle?
Lightweight spackle is ready to sand in 15-30 minutes for small repairs. DAP DryDex changes from pink to white when dry. After sanding, apply primer and let it dry before painting. For larger patches with multiple coats, wait 24 hours between coats.
Related Guides
- Drywall Repair Guide — Complete overview of drywall repairs
- How to Fix Large Drywall Holes — Repairs for 1-6 inch holes
- How to Match Drywall Texture — Blend repairs into textured walls