Fixing 1-6 inch drywall holes requires either a self-adhesive mesh patch (quickest for holes up to 4”) or a California patch (best invisible result for 3-6” holes). Apply 2-3 thin coats of joint compound, allowing 24 hours between coats, then sand, prime, and paint. Total project time: 2-3 days; DIY cost: $15-50.
Large drywall holes look intimidating but are very repairable with the right technique. The California patch method creates professional-quality, invisible repairs without needing backing boards or studs.
What You’ll Need
Tools:
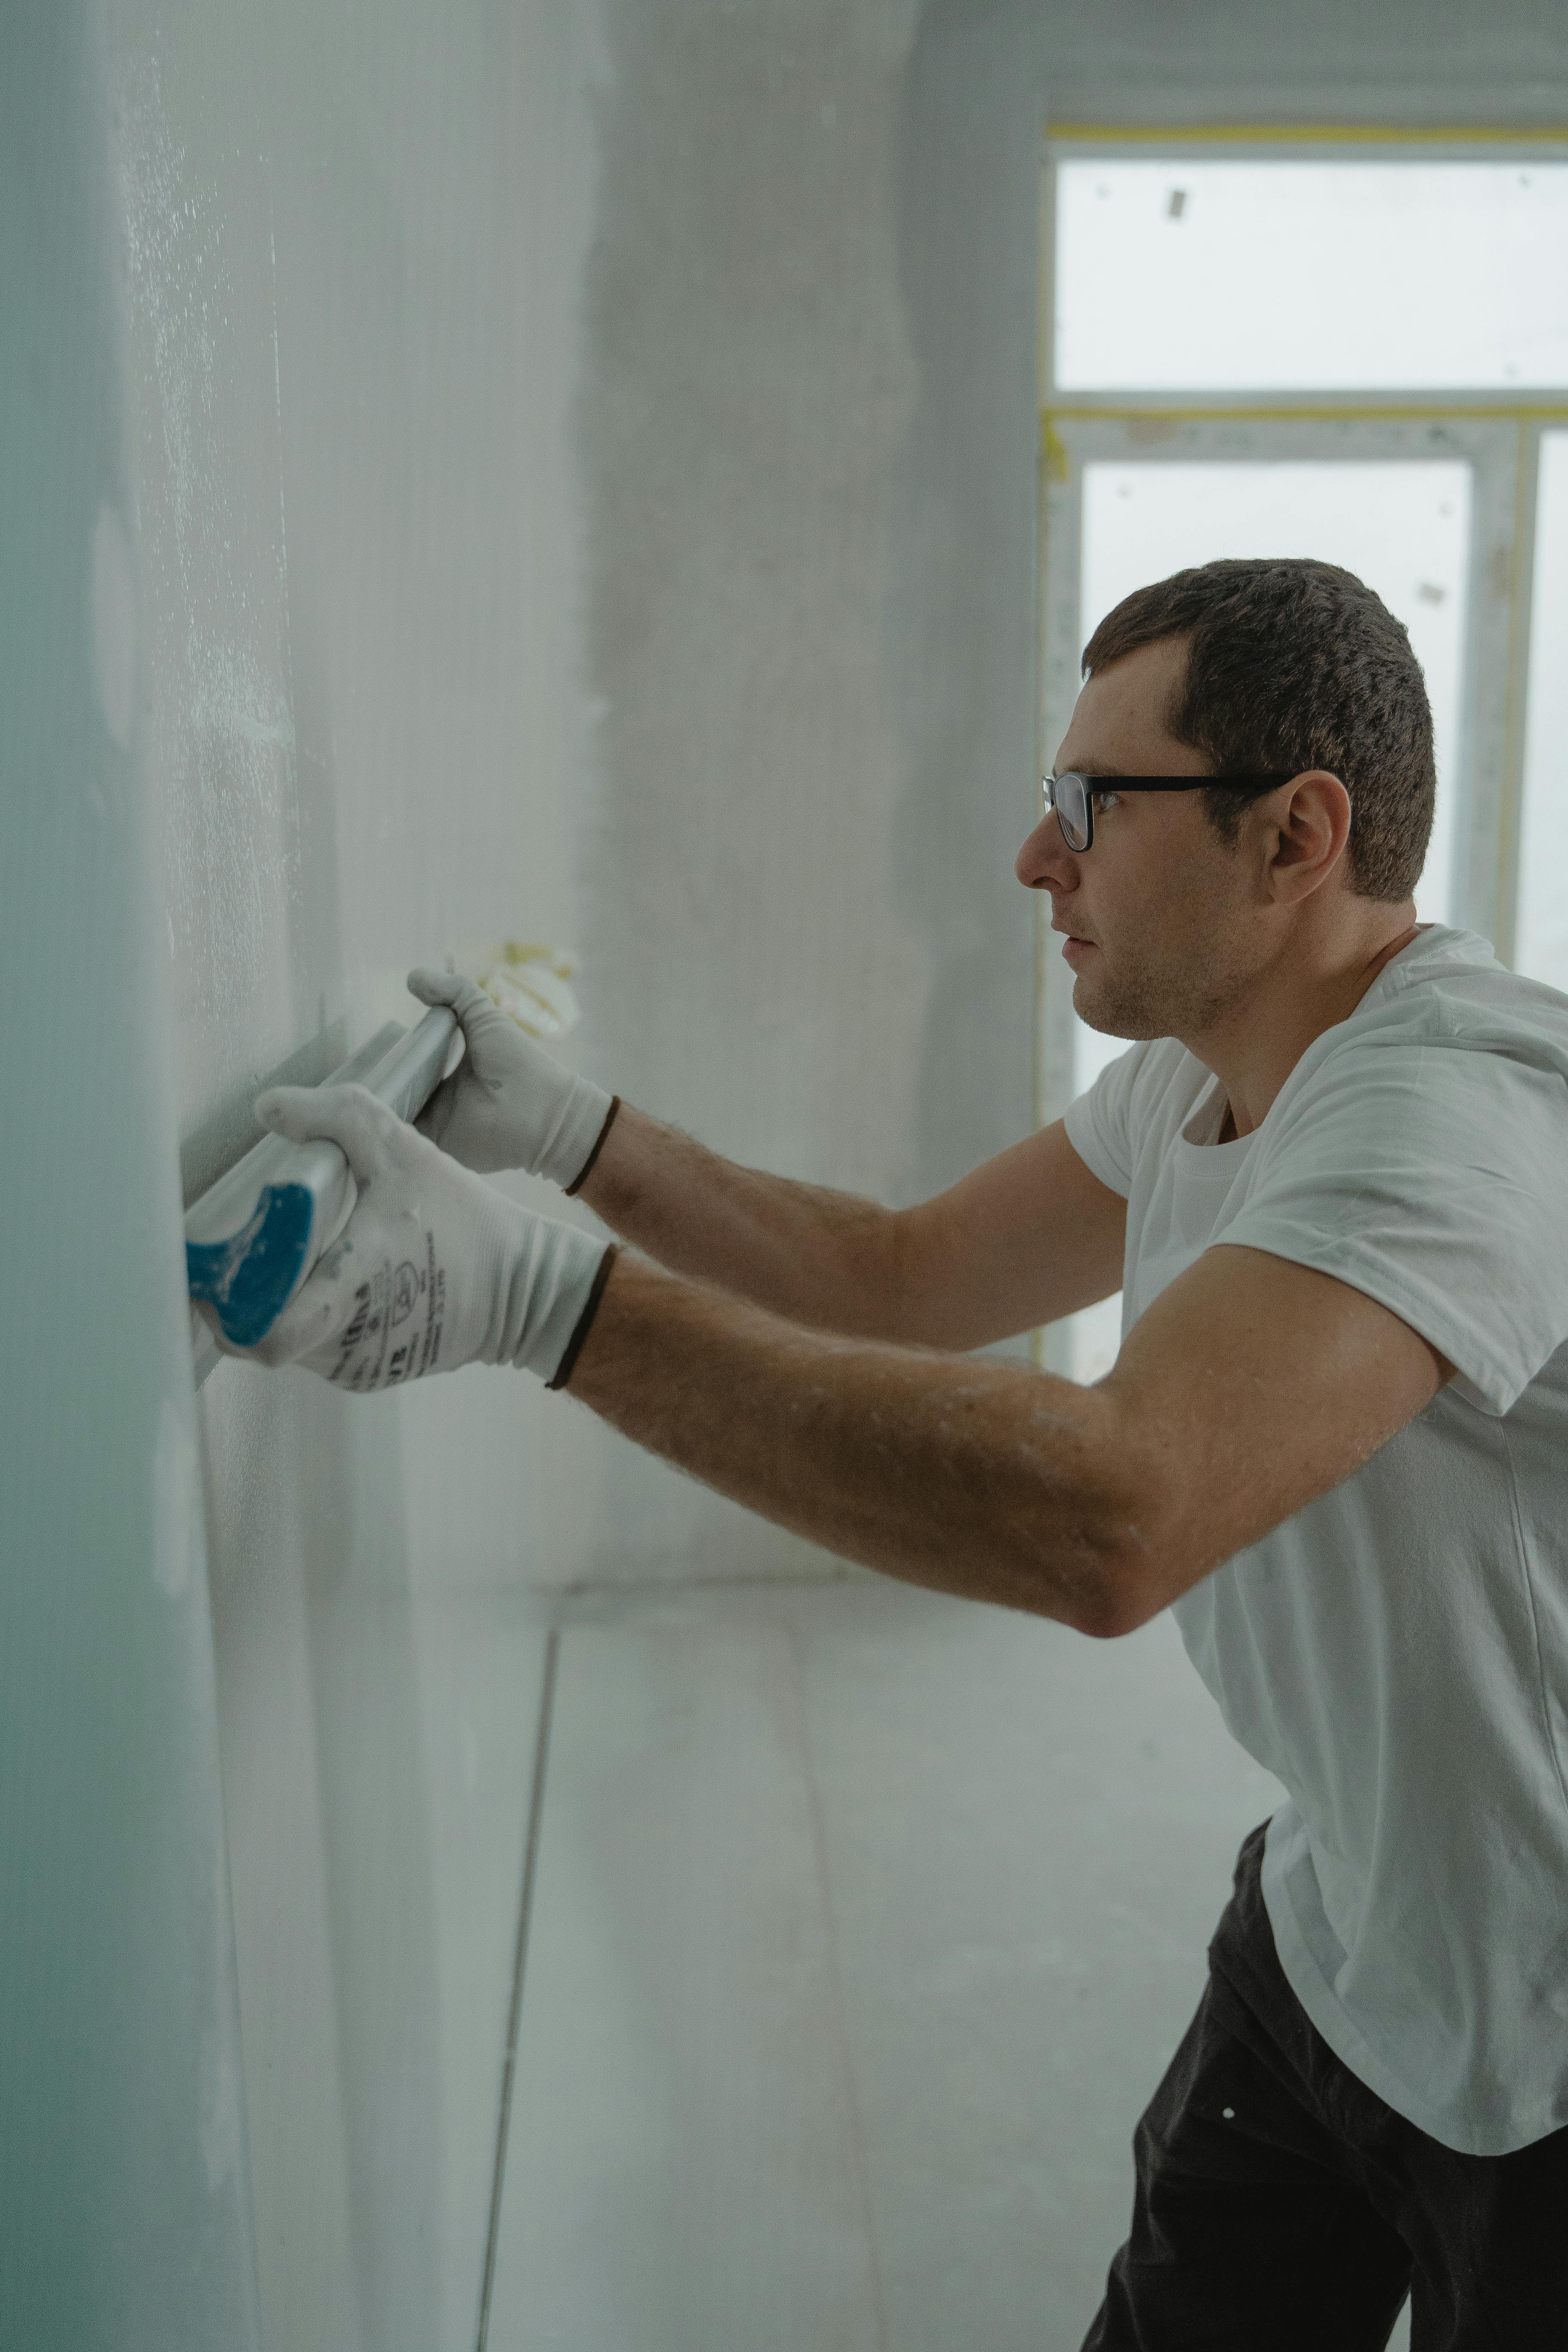
- Drywall knife (4-6”) for first coat
- Taping knife (8-10”) for second coat
- Finishing knife (12”) for feathering
- Utility knife
- Drywall saw (for squaring hole)
- Sanding sponge (120-150 grit)
- Mud pan (metal)
- Flashlight
Materials:
- Scrap drywall (1/2” thickness standard)
- Joint compound (pre-mixed or setting type)
- Sandpaper (120-220 grit)
- Primer
Choose Your Method
| Method | Best For | Pros | Cons |
|---|---|---|---|
| Self-adhesive patch | Up to 4” holes | Fastest, beginner-friendly | Can leave slight bump |
| California patch | 3-6” holes | Most invisible result | More skill needed |
| Backing board + drywall | 6”+ holes | Strongest repair | Most labor intensive |
California Patch Method (Recommended for 3-6”)
The California patch (also called butterfly patch) is the professional’s choice for seamless repairs.
Step 1: Square the Hole
- Use a utility knife or drywall saw to cut the hole into a clean rectangle
- Check inside with a flashlight for wires, pipes, or studs
- Remove all loose debris and ragged edges
Step 2: Cut the Patch
- Cut a scrap piece of drywall 3 inches larger than the hole on ALL sides
- Example: 4”×4” hole = 7”×7” patch piece
- Use standard 1/2” drywall (match existing thickness)
Step 3: Create the “Butterfly Wings”
- Turn patch face-down (back paper facing up)
- Measure and mark 1.5-2” from each edge
- Score along lines through back paper AND gypsum—do NOT cut through front paper
- Snap gypsum along scored lines
- Carefully peel gypsum from each edge, leaving front paper “wings” intact
- Clean edges with sanding sponge
The paper wings are the secret to this method. They embed in joint compound and create a seamless transition—no tape needed. Take your time peeling the gypsum to avoid tearing the paper.
Step 4: Apply the Patch
- Test-fit the patch in the hole
- Apply joint compound liberally around hole edges and where wings will lay
- Press patch into hole
- Use drywall knife to smooth paper wings from center outward
- Squeeze out excess compound
- Let dry 24 hours
Step 5: Finish with Multiple Coats
- Coat 2: Apply thin coat using 10” knife, extending 2” beyond first coat on each side. Feather edges.
- Dry 24 hours
- Coat 3: Apply very thin coat with 12” knife, feathering further out
- Final sand with 180-220 grit
- Prime and paint
Self-Adhesive Patch Kit Method
For holes up to 4 inches, pre-made patch kits are the fastest option.
Recommended products:
- 3M High Strength Large Hole Repair Kit ($14-20)
- DAP DryDex Wall Repair Patch Kit
- Gorilla Wall Repair Kit
How to Apply
- Peel backing and center patch over hole
- Press firmly, ensuring adhesive contacts wall
- Apply first coat of joint compound THROUGH the mesh
- Feather edges 2-3” beyond patch
- Let dry 24 hours
- Apply 2-3 additional thin coats, feathering wider each time
- Sand, prime, paint
Limitation: Mesh patches can leave a slightly raised area visible in direct light.
Drying Times
| Compound Type | Drying Time | Notes |
|---|---|---|
| Pre-mixed | 24 hours | Standard, easiest to use |
| Setting (20-min) | 20-45 min to set | Faster but still needs 24hr before sanding |
| Setting (45-min) | 45-90 min to set | Good balance of working time |
Optimal conditions: 60-70°F, 40-50% humidity
How to tell when dry: Compound changes from dark gray to uniform light white/cream. Feels completely hard with no cool spots.
Knife Progression for Invisible Repairs
| Coat | Knife Size | Purpose |
|---|---|---|
| 1st | 4-6” | Embed patch, fill depression |
| 2nd | 8-10” | Cover first coat, begin feathering |
| 3rd | 10-12” | Final feathering, blend to wall |
Why this matters: Each larger knife spreads compound over a wider area, creating a gentler slope that becomes invisible under paint.
Feathering Technique
The key to invisible repairs is feathering—creating a gradual slope from the repair to the wall surface:
- Apply more pressure to the outside edge of your knife, less to the center
- Hold knife at a low angle (nearly parallel to wall)
- Goal: Thickest at center, tapering to nothing at edges
- Use long, smooth strokes
- Each coat should extend 2-3” beyond the previous
When to Call a Pro
Call a professional if:
- Water damage is present (requires mold inspection)
- Holes are larger than 12 inches
- Ceiling damage or sagging
- Cracks indicate structural movement
- Smoke or fire damage
- Lead paint concerns (pre-1978 homes)
- You need to match complex textures
Cost comparison:
- DIY materials: $15-50
- Professional small hole repair: $60-200
- Professional medium hole repair: $150-400
Common Mistakes to Avoid
- Using too much compound at once — Multiple thin coats beat one thick coat. Thick coats shrink, crack, and take forever to dry.
- Not allowing proper drying — Rushing causes cracking and bubbling. Wait the full 24 hours.
- Not squaring the hole — Irregular shapes are harder to patch invisibly.
- Wrong tape/compound combo — Mesh tape REQUIRES setting compound. Pre-mixed compound with mesh will crack.
- Not feathering edges — Creates visible bump when painted. Feather 10-12” out for large repairs.
- Skipping primer — Patched areas absorb paint differently, creating visible spots.
Frequently Asked Questions
What is a California patch and when should I use it?
A California patch (also called butterfly patch) uses a piece of drywall cut larger than the hole, with the back gypsum removed leaving paper “wings” that embed in joint compound. It’s the best method for 3-6 inch holes because it creates the most seamless, invisible repair without needing backing boards.
How many coats of joint compound do I need for drywall holes?
Apply 2-3 thin coats minimum, allowing 24 hours drying between each. First coat embeds the tape/patch, second coat covers and begins feathering, third coat creates the final smooth finish. Use progressively wider knives (6 inch, 10 inch, 12 inch) for each coat.
Should I use mesh tape or paper tape for hole repairs?
For hole repairs, self-adhesive mesh patches are easiest. However, mesh tape MUST be used with setting-type compound (hot mud), not pre-mixed compound, or it will crack. Paper tape is stronger and works with any compound but requires more skill to embed without bubbles.
Related Guides
- Drywall Repair Guide — Complete overview of drywall repairs
- How to Patch Small Drywall Holes — Quick fixes for nail holes
- How to Tape and Mud Drywall Seams — Professional finishing techniques