
Prepare for winter by changing your filter, testing your heating system before cold weather arrives, checking carbon monoxide detectors, and scheduling professional maintenance. Complete these tasks in fall before you need heat.
The worst time for a heating failure is during the first cold snap when everyone else is calling for service too. A little fall preparation ensures your system is ready when you need it—and catches problems while you still have time to address them.
Fall HVAC Winterization Checklist
1. Replace or Clean Your Air Filter
Start fresh for heating season:
- Install a new filter before starting your furnace for the season
- Choose a filter appropriate for your system (check MERV rating compatibility)
- Stock up on filters for the season—you’ll need to change it every 1-3 months
2. Test Your Heating System
Don’t wait until you need heat to discover a problem:
- Set your thermostat to heat mode
- Set the temperature 5 degrees above current room temp
- Listen for the system to start
- Verify warm air comes from vents within 5 minutes
- Check that all vents are blowing (walk through your home)
- Let it run for 15-20 minutes to identify any issues
What’s normal at first startup:
- Brief dust burning smell (should dissipate within 30 minutes)
- A few minutes before heat reaches vents
- Initial cool air that warms up
Warning signs:
- Persistent burning smell
- No heat after 15 minutes
- Strange noises
- System cycling on and off rapidly
Run this test on a mild day. If you find a problem, you won’t be without heat, and HVAC companies won’t be overwhelmed with emergency calls yet.
3. Check Carbon Monoxide Detectors
Gas and oil heating systems produce carbon monoxide:
- Test all CO detectors by pressing the test button
- Replace batteries (at least annually)
- Ensure you have CO detectors on each floor and near sleeping areas
- Replace detectors older than 7 years
- Consider combination smoke/CO detectors
If you don’t have CO detectors, install them before using your heating system. This is critical for any home with gas appliances.
4. Inspect and Clear Vents
Ensure good airflow throughout your home:
- Remove obstructions (furniture, curtains, rugs) from all vents
- Vacuum dust from vent covers
- Make sure all vents are open (don’t close vents in unused rooms—it can damage your system)
- Check return vents are unobstructed
5. Inspect Your Furnace Area
The area around your furnace matters:
- Clear a 3-foot perimeter of clutter and storage
- Remove any flammable materials nearby
- Ensure the furnace access door/panel is secure
- Verify the furnace switch is on
- Check that the pilot light is lit (if applicable) or igniter is functioning
6. Check the Flue and Exhaust
For gas furnaces, the flue removes combustion gases:
- Visually inspect visible flue pipes for rust, holes, or disconnections
- Ensure the flue isn’t blocked (birds’ nests, debris)
- Check that the flue cap outside is intact and clear
Any damage or blockage requires professional attention before using the system.
7. Program Your Thermostat
Optimize settings for heating season:
- Set comfortable temperatures for when you’re home
- Program setback temperatures for away/sleeping times (save by setting lower)
- Consider 68°F when home, 60-65°F when away or sleeping
- Update schedules if your routine has changed
Smart thermostats can learn your schedule and adjust automatically.
8. Seal Air Leaks
Keep warm air in and cold air out:
- Check weatherstripping around doors and windows
- Feel for drafts around electrical outlets on exterior walls
- Inspect caulking around window frames
- Check the attic hatch seal
- Address obvious gaps and drafts
9. Protect Your Outdoor AC Unit
If you have a central AC condenser:
- Clear debris from around the unit
- Consider a breathable cover to keep out debris (not a plastic tarp—causes moisture buildup)
- Important: Remove the cover before using AC in spring
- Some manufacturers advise against covering—check your manual
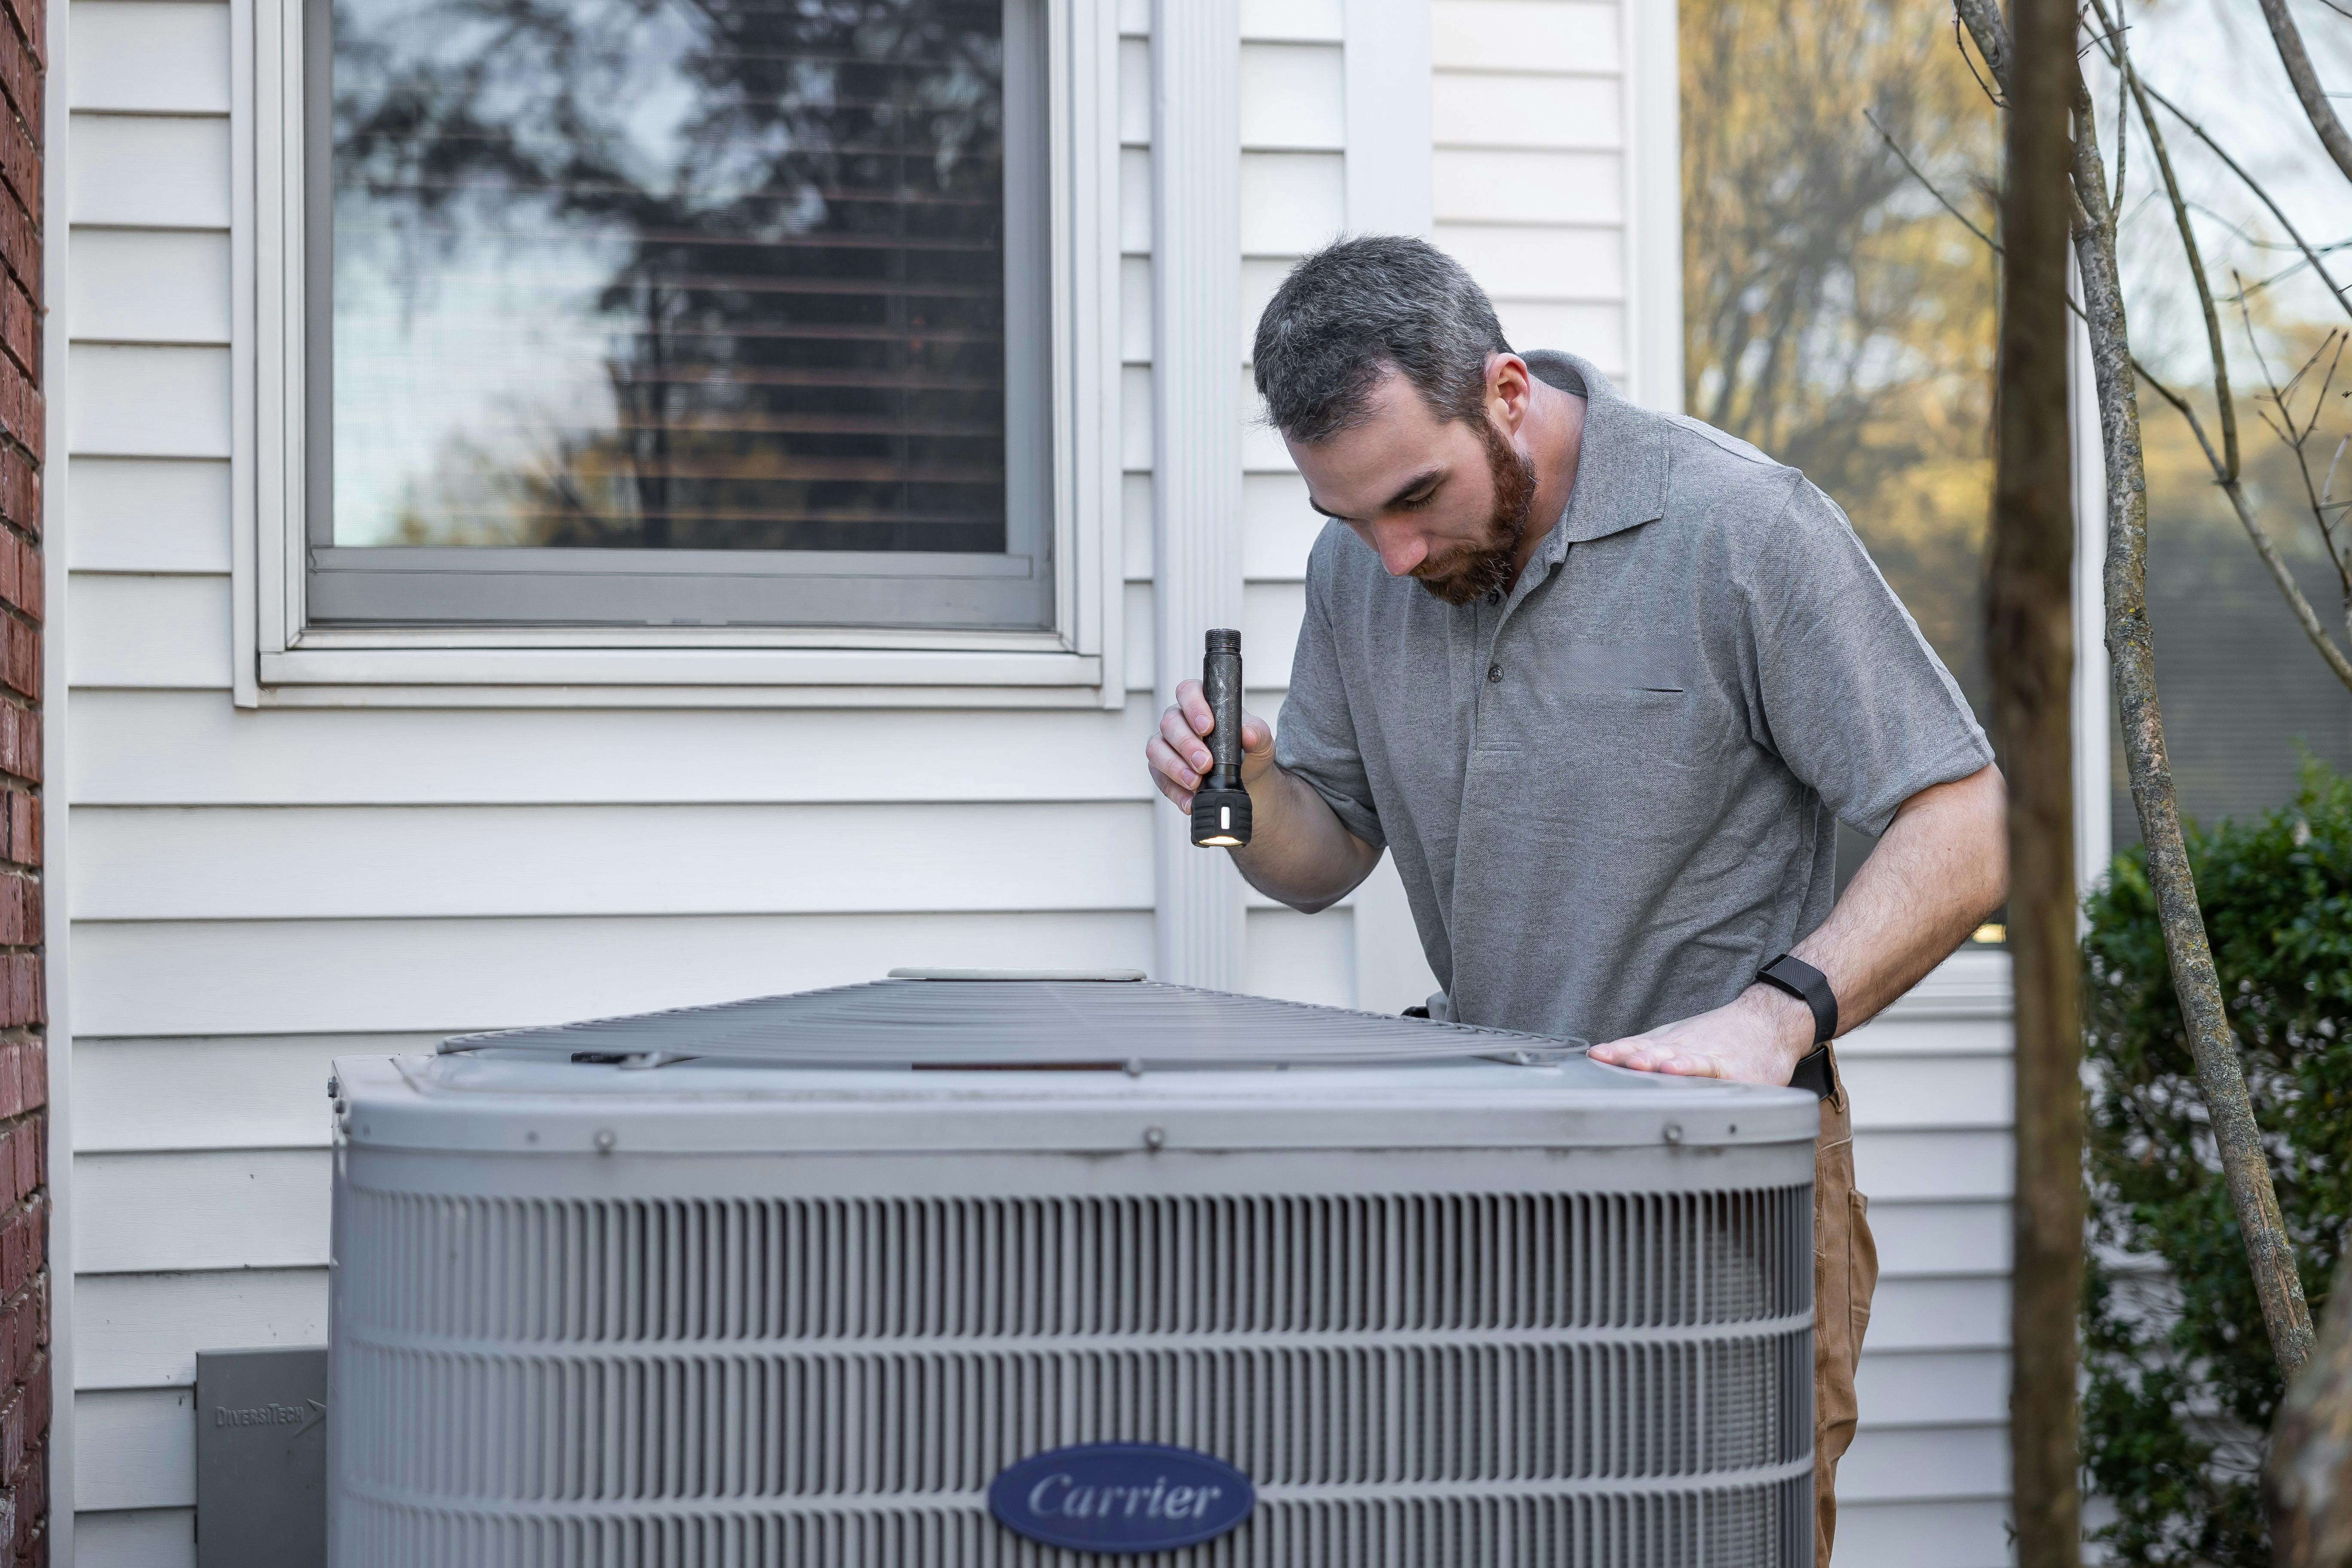
10. Schedule Professional Maintenance
Annual professional tune-ups are essential:
- Schedule in early fall before the rush
- Technicians will clean, inspect, and tune your system
- They’ll catch problems before they become emergencies
- Many offer maintenance plans with priority service
If you didn’t get professional maintenance last year, don’t skip it this year. Furnace tune-ups aren’t just for efficiency—they include safety checks that protect your family.
What Professional Maintenance Includes
A heating tune-up typically covers:
- Heat exchanger inspection: Checking for cracks (carbon monoxide risk)
- Burner cleaning and adjustment: For proper combustion
- Ignition system check: Ensuring reliable startup
- Gas pressure verification: Proper fuel delivery
- Electrical connections: Tightening and inspecting
- Blower motor inspection: Cleaning and lubrication if needed
- Safety control testing: Verifying all safety features work
- Carbon monoxide testing: At the unit and in your home
Preparing for a Power Outage
Winter storms can knock out power:
- Know how to manually operate your gas fireplace (if equipped)
- Have an alternative heat source (safely used portable heaters, fireplace)
- Keep flashlights and batteries accessible
- Know where your main gas shut-off is located
- Have blankets readily available
Never use generators, gas stoves, or grills for indoor heating—carbon monoxide poisoning risk.
When to Call Before Winter
Address these issues now rather than in an emergency:
- System didn’t heat properly last year
- Unusual noises during testing
- Persistent burning smell
- System won’t start
- Thermostat issues
- Age over 15-20 years (consider replacement before it fails)
Winter Monitoring
Throughout heating season:
- Check filter monthly
- Listen for unusual sounds
- Monitor energy bills for unexpected increases
- Keep vents clear
- Maintain comfortable humidity (30-50%)
- Watch for ice dam formation on your roof (indicates heat loss)
Taking time for fall preparation ensures a warm, comfortable, and safe winter. The investment of a few hours now prevents the stress and expense of winter heating emergencies.