Spring AC prep includes changing the filter, cleaning the outdoor unit, checking refrigerant lines, testing the system, and scheduling professional maintenance. Complete these tasks before the first heat wave.
The first hot day of the year is when everyone discovers their AC isn’t working—and HVAC companies are booked for weeks. A little spring preparation ensures your system is ready to keep you cool all summer and catches problems before you’re desperate.
Spring AC Checklist
1. Replace the Air Filter
Start cooling season with a fresh filter:
- Remove and inspect your current filter
- Install a new filter rated for your system
- Write the installation date on the filter frame
- Set a reminder to check monthly during heavy use
A clean filter is essential for proper airflow and cooling efficiency.
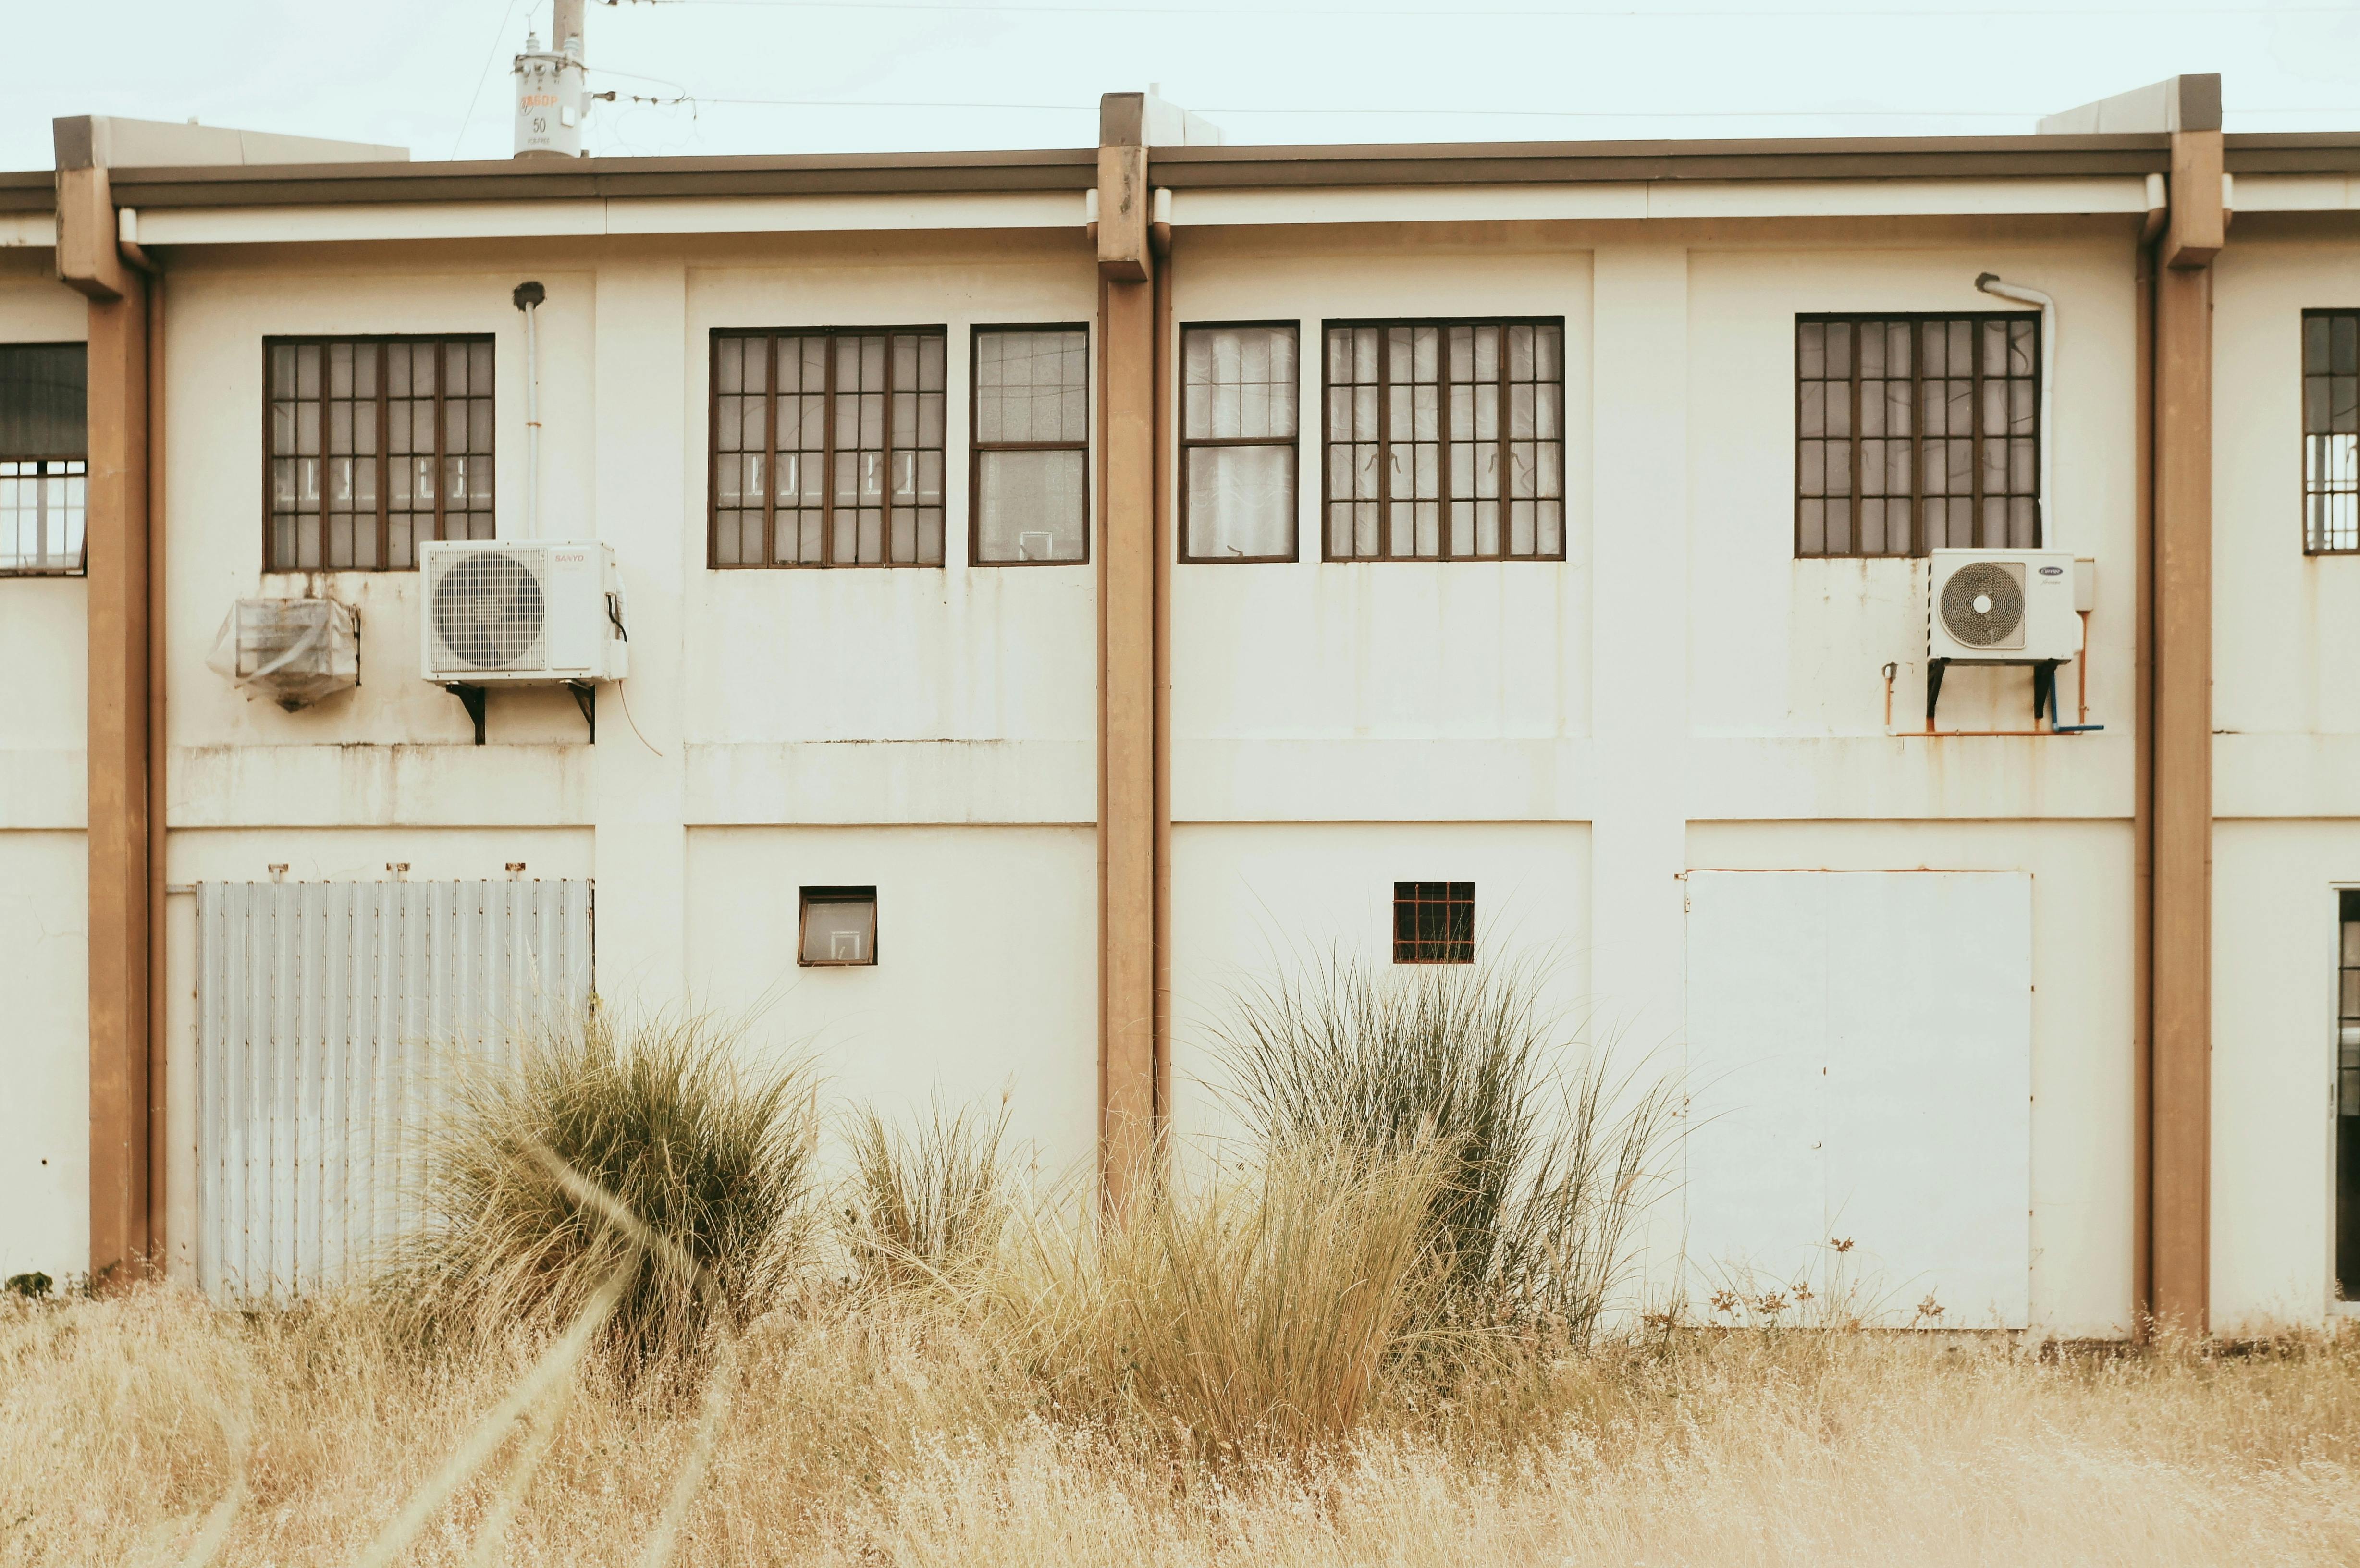
2. Clear and Clean the Outdoor Unit
Your condenser needs clear airflow:
Remove debris:
- Clear leaves, twigs, grass clippings from around the unit
- Maintain 2 feet of clearance on all sides
- Trim back any vegetation that’s grown close
Clean the unit:
- Turn off power at the disconnect and breaker
- Remove large debris by hand
- Gently spray coils with a garden hose (not pressure washer)
- Allow to dry completely before restoring power
If you covered it for winter:
- Remove the cover completely before running the system
- Running AC with a cover causes serious damage
Never run your AC with any cover still in place—even partial covering. The condenser must release heat freely to function.
3. Inspect Refrigerant Lines
Check the copper lines running between your indoor and outdoor units:
- Look for damaged or missing insulation (foam covering)
- Check for signs of oil stains (may indicate refrigerant leak)
- Ensure lines aren’t kinked or crushed
- Replace damaged insulation to maintain efficiency
4. Check the Condensate Drain
Your AC removes humidity, which drains away:
Locate the drain line:
- Usually a white PVC pipe near the indoor unit
- Drains to outside, floor drain, or utility sink
Clear potential clogs:
- Pour a cup of white vinegar into the drain access point
- Wait 30 minutes
- Flush with warm water
- Verify water flows freely out the exit point
A clogged drain can cause water damage and trigger system shutoffs.
5. Test Your System
Before you need cooling:
- Set thermostat to cooling mode
- Lower temperature 5 degrees below current room temp
- Wait for the system to start (both indoor and outdoor units)
- Feel for cool air at vents within 5-10 minutes
- Let it run 15-20 minutes
Check for:
- Both indoor and outdoor units running
- Cool air from vents (not room temperature)
- No unusual sounds
- No unusual smells
- Condensate drain working (dripping outside)
6. Check Thermostat Settings
Prepare for cooling season programming:
- Switch from heat to cool mode
- Set comfortable temperatures
- Review and update schedules
- Replace batteries if applicable
- Test both fan-only and cooling modes
Consider upgrading to a smart thermostat for better efficiency.
7. Inspect Indoor Components
Check accessible indoor equipment:
- Supply and return vents are open and unobstructed
- Return vent filters (if equipped) are clean
- No water stains or damage around indoor unit
- Condensate pump (if equipped) is working
8. Check Electrical Connections
Basic electrical verification:
- Disconnect switch at outdoor unit is on
- Circuit breakers for AC and air handler are on
- No visible wire damage at outdoor unit
- No burn marks or corrosion at disconnect box
Any electrical concerns warrant professional inspection.
Run your test on a mild day (above 60°F). Most AC systems shouldn’t be run when outdoor temperatures are too low—check your manual for minimum operating temperature.
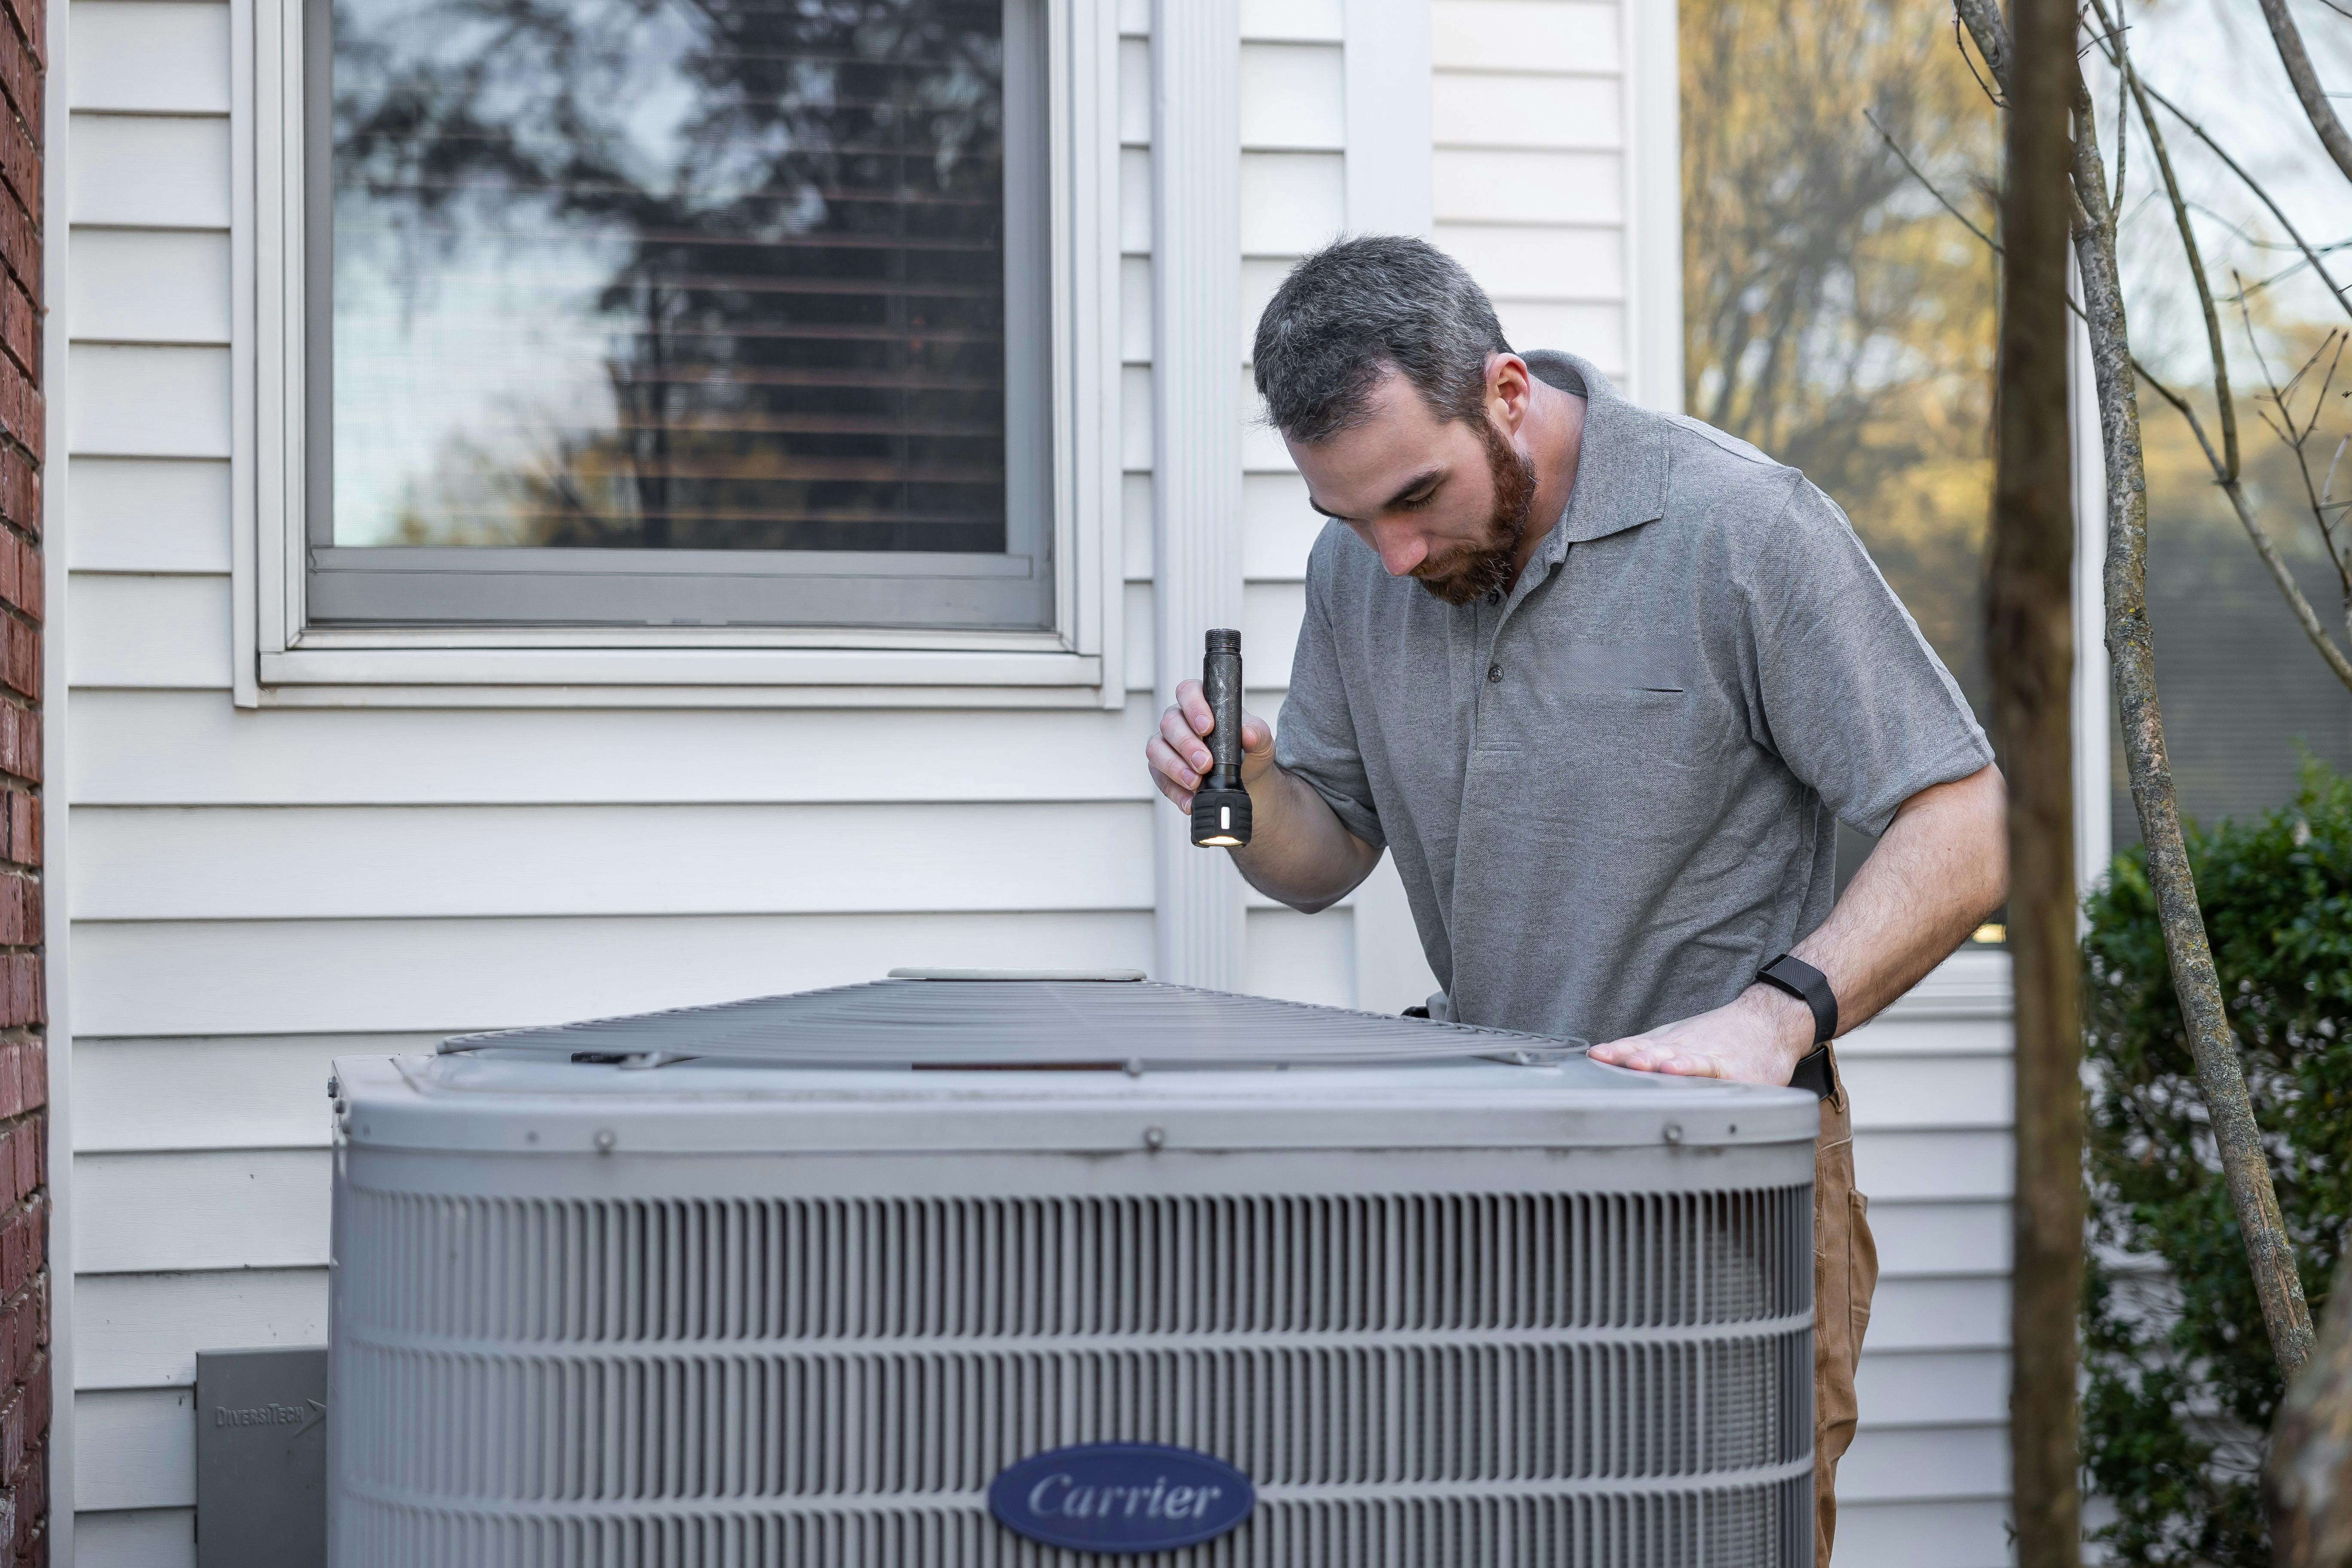
9. Schedule Professional Maintenance
Annual professional tune-ups keep your system running efficiently:
What’s included:
- Refrigerant level check and adjustment
- Electrical connection inspection and tightening
- Coil cleaning (indoor and outdoor)
- Blower motor inspection
- Thermostat calibration
- System performance testing
- Safety checks
Best timing:
- Schedule in early spring before the busy season
- Maintenance plans often include priority scheduling
10. Check Windows and Insulation
Your cooling efficiency depends on your home’s envelope:
- Check weatherstripping on doors and windows
- Verify attic insulation is adequate
- Inspect window caulking
- Consider reflective window film for sun-facing windows
- Ensure ceiling fans rotate counterclockwise for cooling
Troubleshooting Common Spring Startup Issues
System Won’t Start
- Verify thermostat is set to cool
- Check circuit breakers
- Confirm outdoor disconnect is on
- Replace thermostat batteries
Runs But Doesn’t Cool
- Confirm outdoor unit is running
- Check for dirty filter
- Look for ice on refrigerant lines (indicates problem)
- Ensure vents are open
Short Cycling (Turning On/Off Repeatedly)
- May indicate dirty filter
- Could be refrigerant issue
- Possibly oversized system
- Needs professional diagnosis
Water Around Indoor Unit
- Condensate drain may be clogged
- Drain pan may be cracked
- Needs attention before water damage occurs
Summer Energy Efficiency Tips
Maximize cooling while minimizing costs:
- Set thermostat to 78°F when home, higher when away
- Use ceiling fans to feel 4 degrees cooler
- Close blinds on sun-facing windows during peak hours
- Avoid heat-generating activities during hottest parts of the day
- Don’t set temperature extremely low—it won’t cool faster
- Keep vents open in all rooms
- Change filter monthly during heavy use
Warning Signs That Need Attention
Call for service if you notice:
- Ice forming on refrigerant lines or indoor coil
- Water leaking around indoor unit
- Warm air from vents despite system running
- Unusual sounds (grinding, screeching, banging)
- Frequent cycling
- Significant increase in energy bills
- Burning or musty smells
Addressing issues early prevents mid-summer breakdowns when service is hardest to get.
Preparing for Extreme Heat
During heat waves:
- Run AC continuously rather than turning it on/off
- Keep windows and doors closed
- Use exhaust fans after cooking or showering
- Avoid using the oven during peak heat
- Pre-cool your home in the morning if possible
Your AC has limits—during extreme heat, it may not reach your set temperature. This is normal, not a malfunction.