Air sealing and proper insulation can reduce heating and cooling costs by 15-30%. Focus first on air sealing, then add insulation in the attic, which provides the biggest return on investment for most homes.
A well-insulated, air-sealed home is more comfortable, quieter, and significantly cheaper to heat and cool. This guide covers insulation types, air sealing techniques, and weatherproofing projects you can tackle yourself to improve your home’s energy efficiency.
Understanding Heat Transfer
Before diving into insulation, understand how heat moves.
Three Types of Heat Transfer
Conduction: Heat moves through solid materials (like heat traveling through a metal pan handle)
Convection: Heat moves through air currents (warm air rising, cold air sinking)
Radiation: Heat travels as infrared energy through space (like warmth from the sun)
Insulation primarily addresses conduction, while air sealing addresses convection. Radiant barriers address radiation.
Where Heat Escapes
In a typical home, heat loss/gain occurs through:
- Attic/Roof: 25-30%
- Walls: 25-30%
- Air leaks: 25-40%
- Windows: 10-15%
- Basement/Floor: 10-15%
This is why attic insulation and air sealing provide the best return on investment.
Understanding R-Value
R-value measures insulation’s resistance to heat flow.
What R-Value Means
- Higher R-value = Better insulation
- R-values are additive (R-19 + R-19 = R-38)
- R-value doesn’t measure air sealing ability
- Same R-value, different performance with air leaks
Recommended R-Values by Location
Climate Zone 1-2 (Hot):
- Attic: R-30 to R-49
- Walls: R-13 to R-15
- Floors: R-13
Climate Zone 3-4 (Mixed):
- Attic: R-38 to R-60
- Walls: R-13 to R-21
- Floors: R-19 to R-25
Climate Zone 5-7 (Cold):
- Attic: R-49 to R-60
- Walls: R-13 to R-21
- Floors: R-25 to R-30
Check the Department of Energy’s recommendations for your specific zone.
Most older homes have far less insulation than recommended. Even adding insulation to meet minimum standards can significantly reduce energy bills. Above-code insulation levels provide even greater savings.
Types of Insulation
Different insulation types suit different applications.
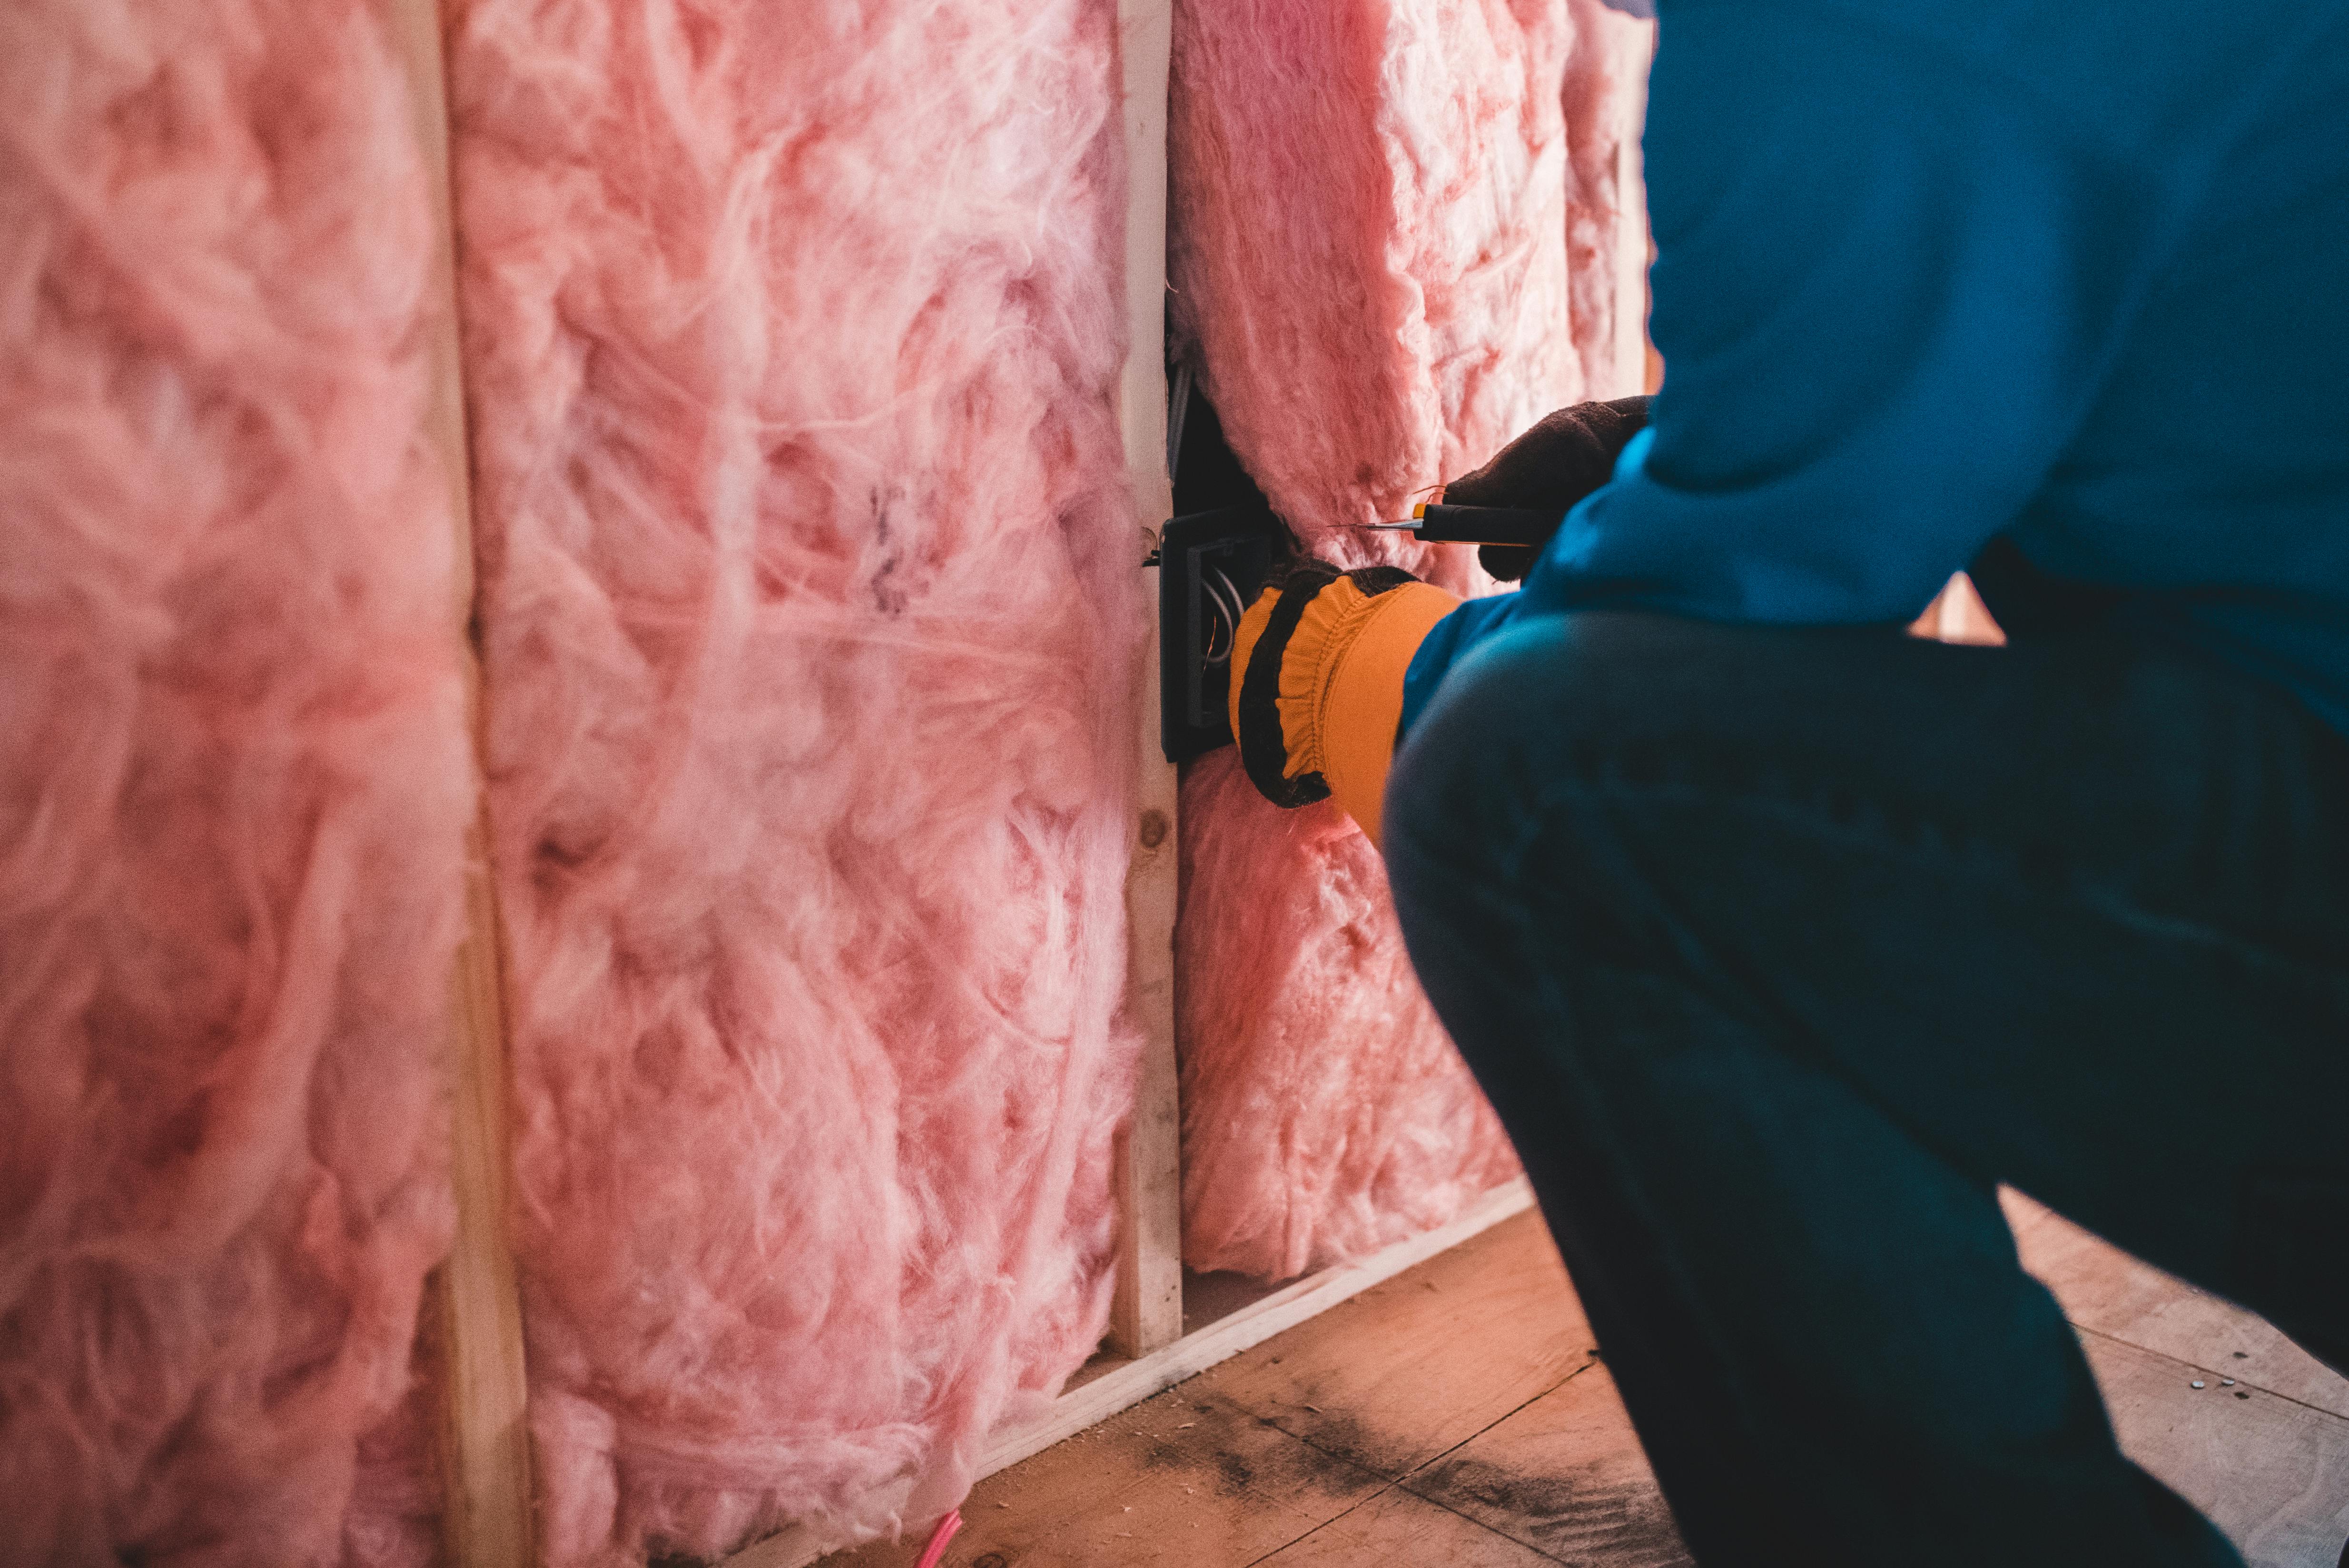
Fiberglass Batts
The most common insulation type:
Pros:
- Inexpensive
- DIY-friendly
- Widely available
- Non-flammable
Cons:
- Requires careful installation (gaps reduce effectiveness)
- Irritating to skin, eyes, lungs
- Doesn’t air seal
- Loses effectiveness when compressed
Best for: Attics, walls (new construction), floors
R-value per inch: R-2.9 to R-3.8
Blown-In Fiberglass
Loose fiberglass blown into cavities:
Pros:
- Fills irregular spaces well
- Good for adding to existing attic insulation
- Less irritating during installation than batts
Cons:
- Requires equipment
- Can settle over time
- Doesn’t air seal
Best for: Attic floors, enclosed wall cavities
R-value per inch: R-2.2 to R-2.7
Cellulose
Made from recycled paper, treated for fire resistance:
Pros:
- Environmentally friendly
- Fills cavities completely
- Some air sealing qualities
- Pest-resistant when treated
Cons:
- Can settle over time (blown-in)
- Can hold moisture if wet
- Requires equipment for blown-in
Best for: Attic floors, dense-packed walls
R-value per inch: R-3.2 to R-3.8
Spray Foam
Expands on application, creating both insulation and air barrier:
Open-cell foam:
- R-value: R-3.5 to R-3.7 per inch
- Less expensive than closed-cell
- Allows moisture to pass through
- Good for interior applications
Closed-cell foam:
- R-value: R-6 to R-7 per inch
- Acts as vapor barrier
- Adds structural strength
- More expensive
Pros:
- Excellent air sealing
- Fills irregular spaces
- High R-value per inch (closed-cell)
Cons:
- Expensive
- Requires professional installation
- Off-gassing during installation
- Difficult to modify later
Best for: Rim joists, cathedral ceilings, irregular spaces
Rigid Foam Boards
Solid foam panels:
Types:
- EPS (Expanded Polystyrene): R-3.6 to R-4.2 per inch
- XPS (Extruded Polystyrene): R-5 per inch
- Polyisocyanurate: R-5.6 to R-6.5 per inch
Pros:
- High R-value per inch
- Moisture resistant
- Can serve as vapor barrier
- DIY-friendly installation
Cons:
- Must be cut to fit
- Joints need sealing
- Fire barrier required when exposed
Best for: Basement walls, exterior sheathing, under slab
Mineral Wool (Rock Wool)
Made from rock or slag fibers:
Pros:
- Fire resistant (rated to 2000°F)
- Water resistant
- Sound dampening
- Doesn’t support mold
Cons:
- More expensive than fiberglass
- Heavier
- Can be irritating to handle
R-value per inch: R-3.3 to R-4.2
Best for: Fire-safety applications, soundproofing, around chimneys
Air Sealing Basics
Air sealing is often more impactful than adding insulation.
Why Air Sealing Matters
Air leaks account for 25-40% of heating and cooling loss:
- Conditioned air escapes
- Unconditioned air enters
- Creates drafts and cold spots
- Can carry moisture into building cavities
- Reduces insulation effectiveness
Finding Air Leaks
Common leak locations:
- Around windows and doors
- Electrical outlets on exterior walls
- Where pipes and wires penetrate walls
- Recessed lighting fixtures
- Attic hatches
- Chimney and flue penetrations
- Where walls meet foundation
- Dryer vents
- Kitchen and bathroom exhaust vents
Detection methods:
Visual inspection: Look for gaps, daylight, dirty insulation (air flow deposits dust)
Feel method: On a cold, windy day, feel for drafts around suspected areas
Smoke test: Hold incense stick near suspected leaks; smoke moves toward leaks
Blower door test: Professional test that pressurizes home to measure and locate leaks
Dirty insulation often indicates air leaks. When air moves through insulation, it deposits dust. Dark streaks in attic insulation show where air is flowing.
Air Sealing Materials
Caulk: For gaps up to 1/4 inch
- Silicone: Durable, flexible, not paintable
- Acrylic latex: Paintable, easy cleanup, less durable
- Polyurethane: Durable, paintable, harder to apply
Spray foam: For gaps 1/4 inch to 3 inches
- Expanding foam for larger gaps
- Low-expansion foam for around windows/doors
Weatherstripping: For movable joints (doors, windows)
Rigid foam: For large openings (can combine with foam sealant)
Metal flashing: Required around heat sources (chimneys)
Air Sealing Safety
Fire safety: Use fire-rated materials around heat sources:
- Furnace flues
- Chimneys
- Recessed lights (unless IC-rated)
Ventilation: Don’t seal combustion appliance vents or makeup air intakes
Moisture: Understand vapor barriers and where moisture can accumulate
Attic Insulation
The attic is typically the highest-priority area.
Assessing Current Insulation
Measure what you have:
- Safely access attic (use proper lighting)
- Measure insulation depth in several spots
- Identify insulation type
- Calculate approximate R-value
Fiberglass batts: Measure depth × R-value rating on bag Loose fill: Measure depth and consult R-value charts
Before Adding Insulation
Air seal first:
- Seal around plumbing and electrical penetrations
- Seal around chimney with metal flashing and high-temp sealant
- Seal recessed light fixtures (or replace with IC-rated airtight fixtures)
- Seal attic hatch
- Seal duct penetrations
- Seal where walls meet attic floor
Check for hazards:
- Knob-and-tube wiring (needs air space, consult electrician)
- Vermiculite (may contain asbestos, test before disturbing)
- Moisture problems (fix source before insulating)
- Pest evidence (address before insulating)
Adding Attic Insulation
Blown-in insulation (most common for adding):
- Install depth markers to gauge thickness
- Ensure soffit baffles are in place for ventilation
- Work from edges toward access point
- Maintain uniform depth
- Don’t block ventilation paths
Batts over existing:
- Lay perpendicular to existing batts or joists
- Don’t compress—compression reduces R-value
- Cut carefully around obstacles
- Don’t cover recessed lights (unless IC-rated)
Attic Access
Insulating the hatch:
- Attach rigid foam to hatch back
- Install weatherstripping around perimeter
- Add latches to hold hatch tight against weatherstripping
Attic stairs (pull-down):
- Build insulated box over stairs
- Or install commercial attic stair cover
- Weatherstrip around perimeter
Maintaining Ventilation
Proper attic ventilation is critical:
- Keeps attic cool in summer (extends shingle life)
- Removes moisture in winter (prevents ice dams, mold)
- Requires air path from soffits to ridge
Install soffit baffles:
- Place baffles at each rafter bay at soffit
- Extends from soffit vent to above insulation
- Maintains air channel even with deep insulation
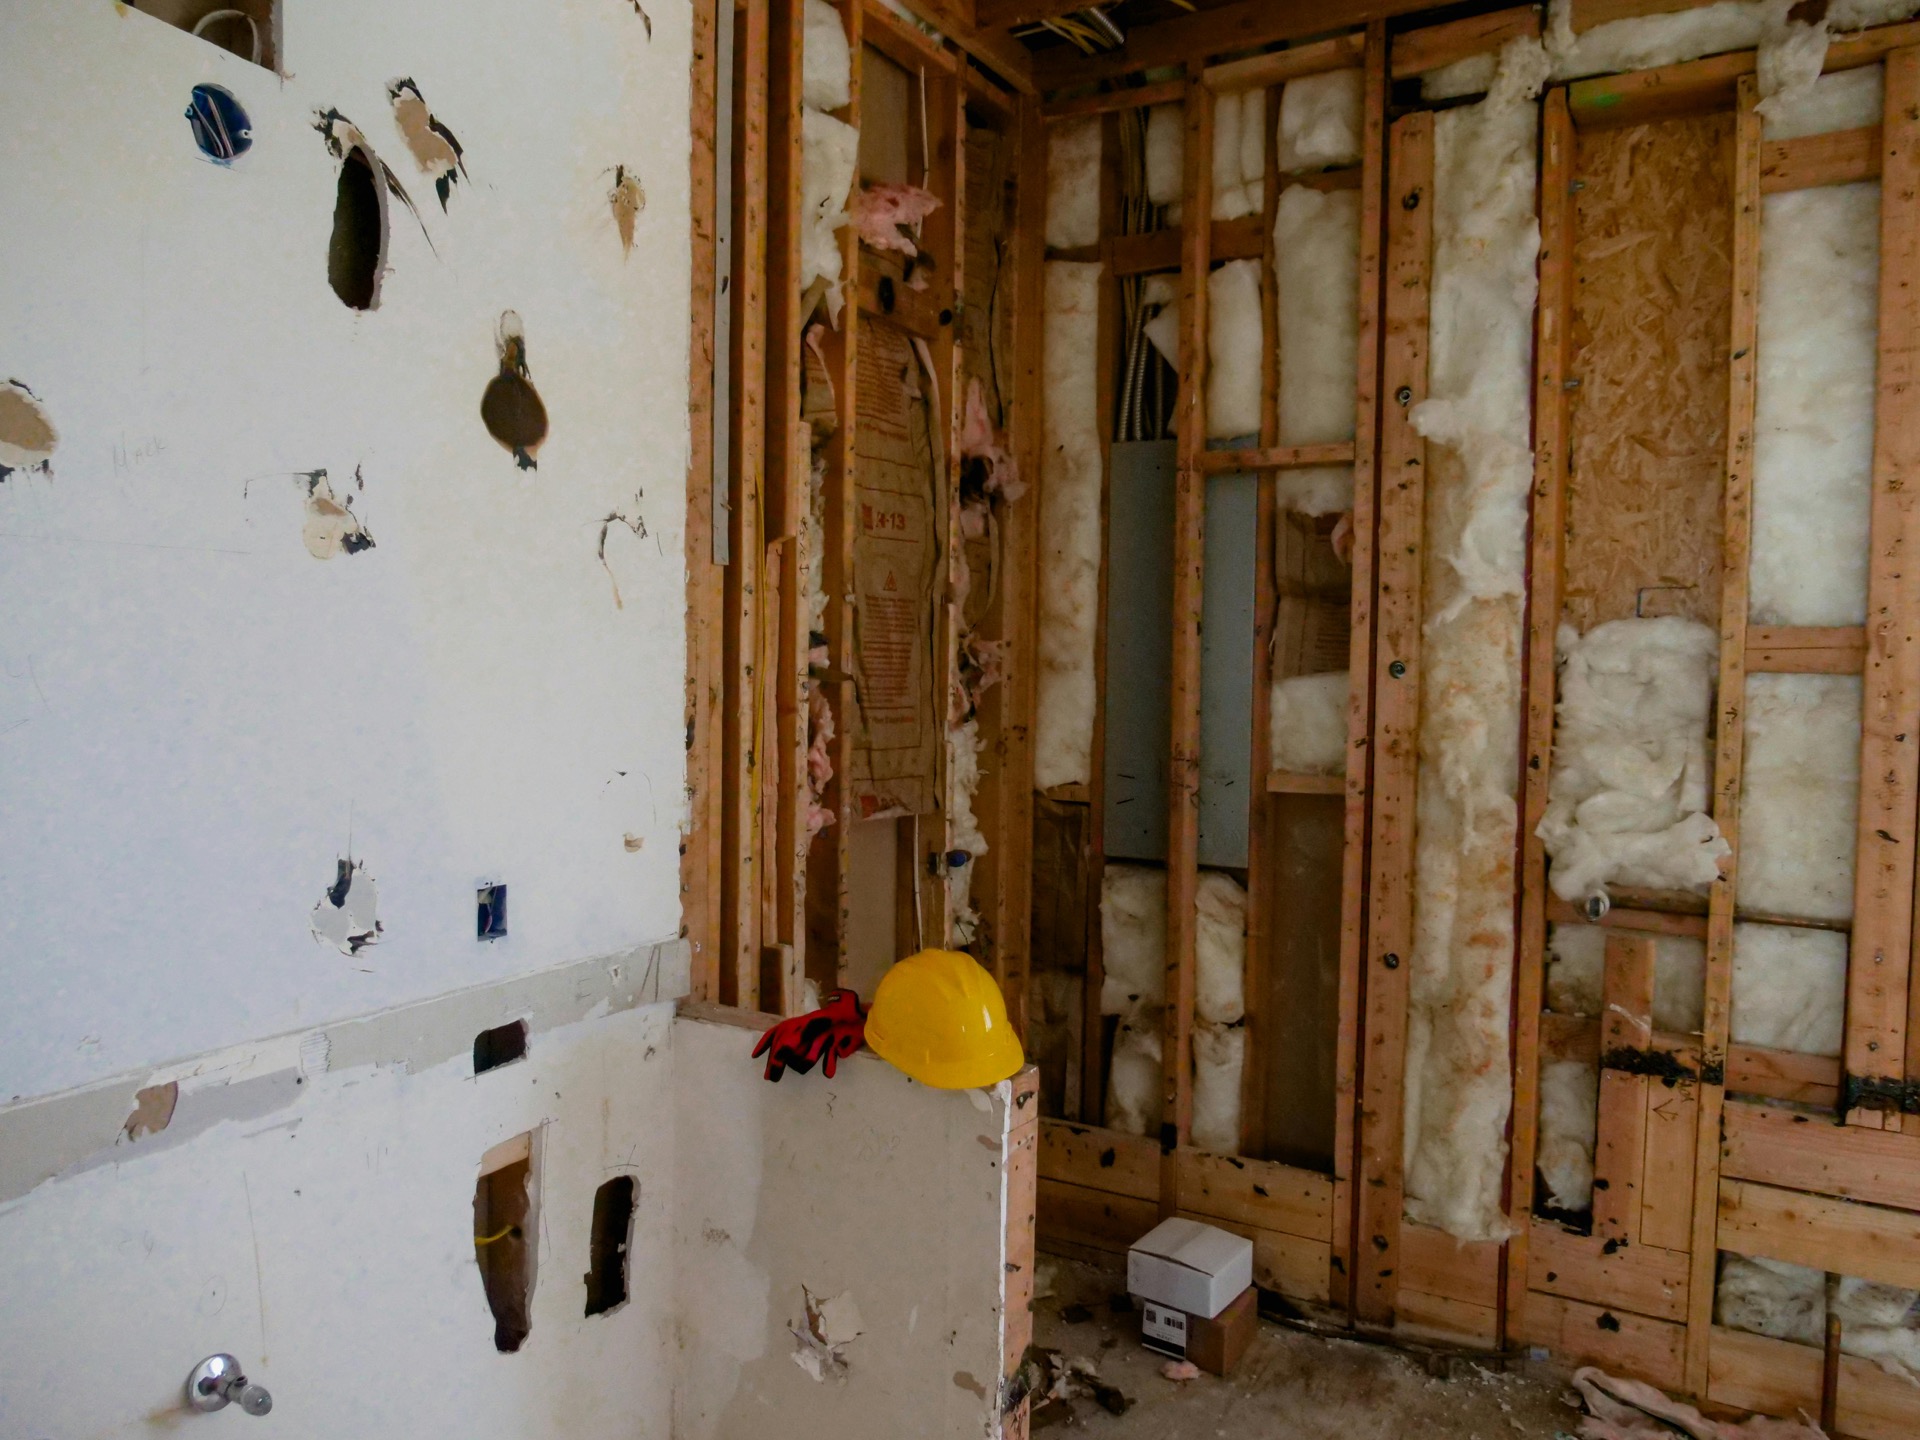
Wall Insulation
Walls are challenging in existing homes.
Checking Existing Wall Insulation
Electrical outlet method:
- Turn off power to outlet
- Remove cover plate
- Carefully feel inside wall cavity with finger
- Look for insulation with flashlight
Thermal imaging: Camera shows temperature differences indicating missing insulation
Options for Existing Walls
Dense-pack cellulose:
- Holes drilled in wall (exterior or interior)
- Cellulose blown in at high density
- Holes patched
- Professional installation required
- Most common retrofit method
Injection foam:
- Similar process to cellulose
- Higher R-value per inch
- More expensive
- Good for smaller cavities
Interior rigid foam:
- Foam boards attached to interior walls
- Covered with drywall
- Reduces room size slightly
- DIY-friendly but labor intensive
Exterior foam sheathing (during re-siding):
- Rigid foam applied to exterior
- New siding installed over
- Most effective but expensive
New Construction Walls
Standard methods:
- Fiberglass batts (most common)
- Cellulose (blown or dense-pack)
- Spray foam (best performance)
Key installation points:
- Fill cavities completely
- No gaps or compression
- Proper vapor barrier placement
Floor and Basement Insulation
Over Unconditioned Spaces
Floors over garages, crawl spaces, or cantilevered areas:
Fiberglass batts:
- Install with paper/foil facing up (toward heated space)
- Don’t compress against subfloor
- Support with wire or mesh if needed
- Air seal any penetrations
Spray foam:
- Applied to subfloor from below
- Excellent air sealing
- Professional installation
Basement Wall Insulation
For conditioned basements:
Rigid foam on walls:
- Attach foam boards to wall
- Seal joints with foam or tape
- Cover with code-required thermal barrier (drywall)
Spray foam:
- Professional application
- Excellent air sealing
- Moisture resistance (closed-cell)
Important: Don’t use fiberglass batts against basement walls—moisture problems result
Rim Joist Insulation
The rim joist (where floor meets foundation) is a major heat loss area:
Spray foam method:
- Spray foam directly on rim joist
- Creates air seal and insulation
- Professional or DIY (canned foam for small areas)
Rigid foam method:
- Cut foam to fit each joist bay
- Caulk or foam around edges to air seal
- Stack pieces if needed for R-value
The rim joist is often the easiest place to add insulation with big impact. Each linear foot of uninsulated rim joist can lose as much heat as several square feet of wall.
Crawl Space Approaches
Vented crawl space (traditional):
- Insulate floor above
- Maintain ventilation
- Moisture barrier on ground
Conditioned crawl space (often better):
- Seal vents
- Insulate walls instead of floor
- Install vapor barrier on floor and walls
- May need dehumidifier or conditioned air supply
Window and Door Weatherstripping
Weatherstripping seals gaps around operable windows and doors.
Weatherstripping Types
Adhesive-backed foam:
- Inexpensive
- Easy to install
- Compresses to fill gaps
- Deteriorates in 1-3 years
- Best for: Light-use doors, windows
V-strip (tension seal):
- Plastic or metal
- Long-lasting
- Works on side and top of doors
- More complex installation
- Best for: Doors, double-hung windows
Door sweeps:
- Attaches to bottom of door
- Various styles (brush, vinyl, rubber)
- Easy installation
- Best for: Exterior doors
Threshold seals:
- Replaces or enhances door threshold
- Works with door sweep
- Best for: Exterior doors
Tube gaskets:
- Vinyl or rubber tube
- Compresses to fill gap
- Medium durability
- Best for: Doors
Interlocking metal:
- Most durable
- Complex installation
- Professional recommended
- Best for: Entry doors
Weatherstripping Doors
Door jambs (sides and top):
- Clean existing surfaces
- Remove old weatherstripping
- Measure gap size
- Choose appropriate weatherstripping
- Install per product directions
- Check door still opens/closes freely
Door bottom:
- Install door sweep on interior
- Adjust threshold if present
- Check seal when door closed
Common mistake: Installing weatherstripping too tight—door should close easily
Weatherstripping Windows
Double-hung windows:
- Install V-strip in channels where sashes slide
- Apply foam tape to bottom of lower sash
- Install compression strip where sashes meet
Casement windows:
- Check existing weatherstrip condition
- Replace worn sections with matching type
- Adjust hardware if needed for proper seal
Window Treatments
Beyond weatherstripping, window coverings add efficiency.
Interior Options
Cellular (honeycomb) shades:
- Trap air for insulation
- Single, double, or triple cell options
- Good balance of cost and performance
Insulated curtains:
- Multiple layers including insulating material
- Must seal at edges to be effective
- Close at night, open for solar gain during day
Interior storm windows:
- Plastic or glass panel inside existing window
- Creates insulating air space
- Removable for summer
Exterior Options
Storm windows:
- Adds insulating air gap
- Reduces drafts
- Extends life of older windows
- Can be permanent or seasonal
Awnings:
- Block solar heat gain (reduces cooling load)
- Best for south and west windows
- Retractable allows winter solar gain
Duct Sealing and Insulation
Duct leaks waste significant energy.
Why Ducts Matter
- Leaky ducts can waste 20-30% of heated/cooled air
- Duct losses often occur in unconditioned spaces
- Sealing and insulating ducts provides significant savings
Sealing Duct Leaks
Common leak locations:
- Connections between duct sections
- Where ducts meet registers
- Where ducts connect to equipment
- Seams in duct runs
Sealing methods:
- Clean duct surfaces
- Apply mastic sealant to all joints and seams
- For larger gaps, use mesh tape with mastic
- Or use foil tape (not cloth duct tape, despite the name)
Insulating Ducts
In unconditioned spaces (attics, crawl spaces, garages):
- Seal ducts first
- Wrap with duct insulation (R-6 minimum, R-8 preferred)
- Seal insulation seams
- Don’t compress insulation
Energy Audit
Consider a professional energy audit.
What Auditors Do
- Blower door test (measures total air leakage)
- Thermal imaging (finds insulation gaps)
- Duct testing (measures duct leakage)
- Safety testing (combustion appliances)
- Prioritized recommendations
DIY Assessment
Walk around looking for:
- Gaps around penetrations
- Missing or damaged weatherstripping
- Inadequate insulation (attic is easiest to check)
- Single-pane windows
- Uninsulated ducts in unconditioned spaces
Utility bills: Compare usage to similar homes for your climate
Rebates and Incentives
Many efficiency improvements qualify for rebates:
- Utility company rebates
- State energy programs
- Federal tax credits
- Manufacturer rebates
Check the Database of State Incentives for Renewables and Efficiency (DSIRE) for programs in your area.
Prioritizing Improvements
If budget is limited, focus in this order:
- Air sealing: Highest return, lowest cost
- Attic insulation: Major impact, relatively easy
- Duct sealing: Often overlooked but impactful
- Weatherstripping: Low cost, immediate results
- Basement/rim joist: Good return in cold climates
- Wall insulation: Higher cost, harder to do
Start with an energy audit or DIY assessment. This shows exactly where your home is losing energy so you can prioritize improvements for maximum impact.
When to Call Professionals
Some work requires professional help:
- Spray foam insulation: Equipment and expertise required
- Dense-pack wall insulation: Specialized equipment
- Anything involving asbestos: Vermiculite, old insulation
- Electrical issues: Knob-and-tube wiring
- Major moisture problems: Fix source before insulating
- Combustion safety: If sealing a tight house with gas appliances
Measuring Success
After improvements, verify results:
- Utility bills: Compare heating/cooling costs year over year
- Comfort: Notice fewer drafts, more even temperatures
- Follow-up blower door test: Measures actual improvement
- Thermal imaging: Confirms insulation effectiveness
A well-insulated, air-sealed home is more comfortable, healthier, and significantly cheaper to heat and cool. The improvements often pay for themselves in energy savings while making your home a better place to live.